PORT OF JAPAN
Market, bridge, and the wharf, Kushiro

Home / Kushiro / Your day / Route

For a 4.5-hour call · Kushiro

Market, bridge, and the wharf

Short calls from the downtown terminal — zero vehicles. Timed from the gangway and back.

2 hr 30 min door to door5 stopsNeeds a 4.5-hour call
Photo: MaedaAkihiko / CC0
Door to door
2 hr 30 min
From the gangway and back
Best for
A 4.5-hour call or longer
Short calls from the downtown terminal — zero vehicles
Room to spare
None
Fits a 4.5-hour stop with nothing to add (off the ship 30 minutes after arrival, back at the gangway an hour before all-aboard). A longer call gives you the extra time; on this one, do not add a stop.
What it costs
~¥2,500 pp
Mostly whatever your kattedon appetite decides.
Booking
Nothing
Every stop here takes walk-ups

Timed from the gangway with the port's official timetables · updated · Takumi Yamada

Numbers follow the route below. Pins are the places themselves; walking lines are not drawn because the best way between two stops can change with the tram, the tide or the weather.

The route

How the day runs

Times are from the moment you step off, not from the scheduled arrival. Everything shifts if your ship is late; the order does not.

  1. +0:00
    Walk off toward Nusamai Bridge (~5 min)

    West Port arrivals: the shuttle (if one runs) stops at the KKS Convention Center, 240 m from MOO — the return bus leaves there too; then join here

    What you will see hereFull guide: Nusamai Bridge and Fisherman's Wharf MOO
  2. +0:15
    Washo Market — build your kattedon

    Rice first, then hunt the stalls · ~15 min walk · closed some Sundays

    What you will see hereFull guide: Washo Market and the Kattedon Bowl
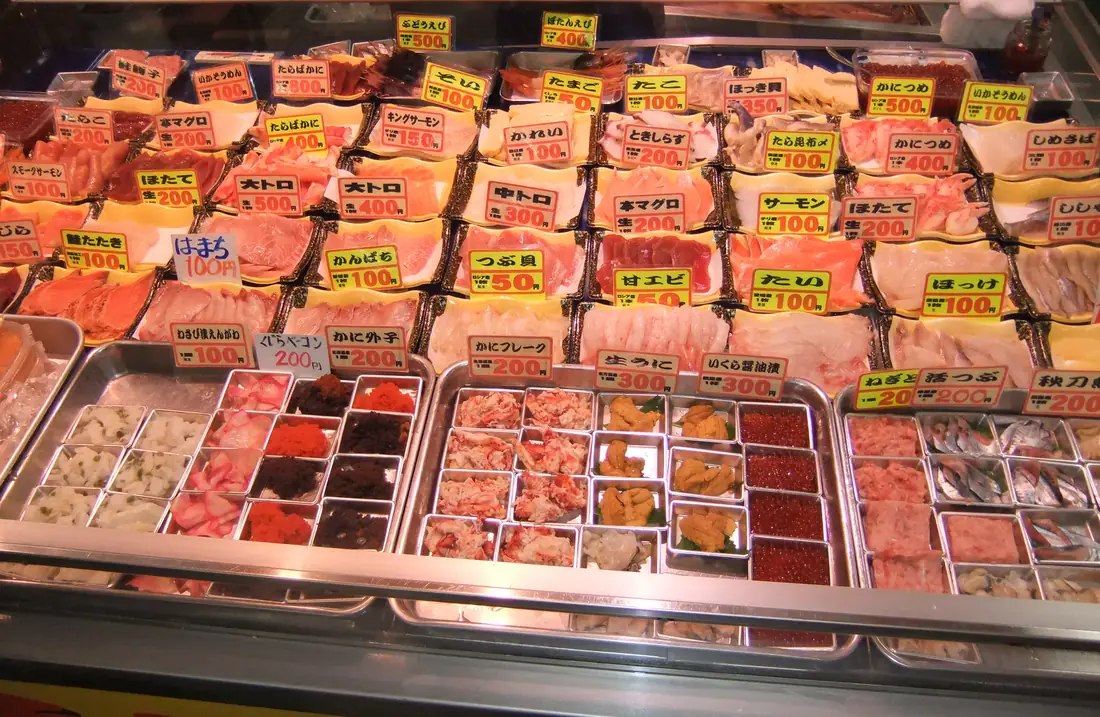
    Kattedon at Washo Market, Kushiro
    Photo: Midori / CC BY 3.0
  3. +1:15
    Fisherman’s Wharf MOO & EGG

    Souvenir floor, riverside, and the little greenhouse that ignores the fog

    What you will see hereFull guide: Nusamai Bridge and Fisherman's Wharf MOO
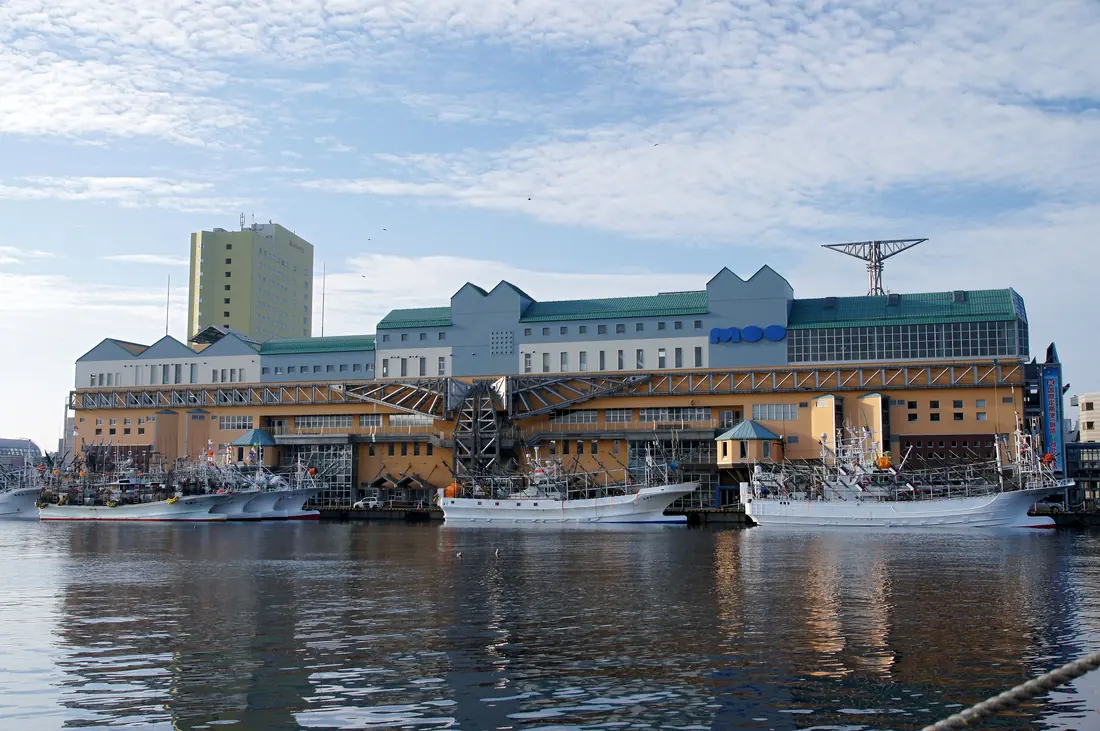
    Fisherman’s Wharf MOO & EGG, Kushiro
    Photo: Midori / CC BY 3.0
  4. +2:00
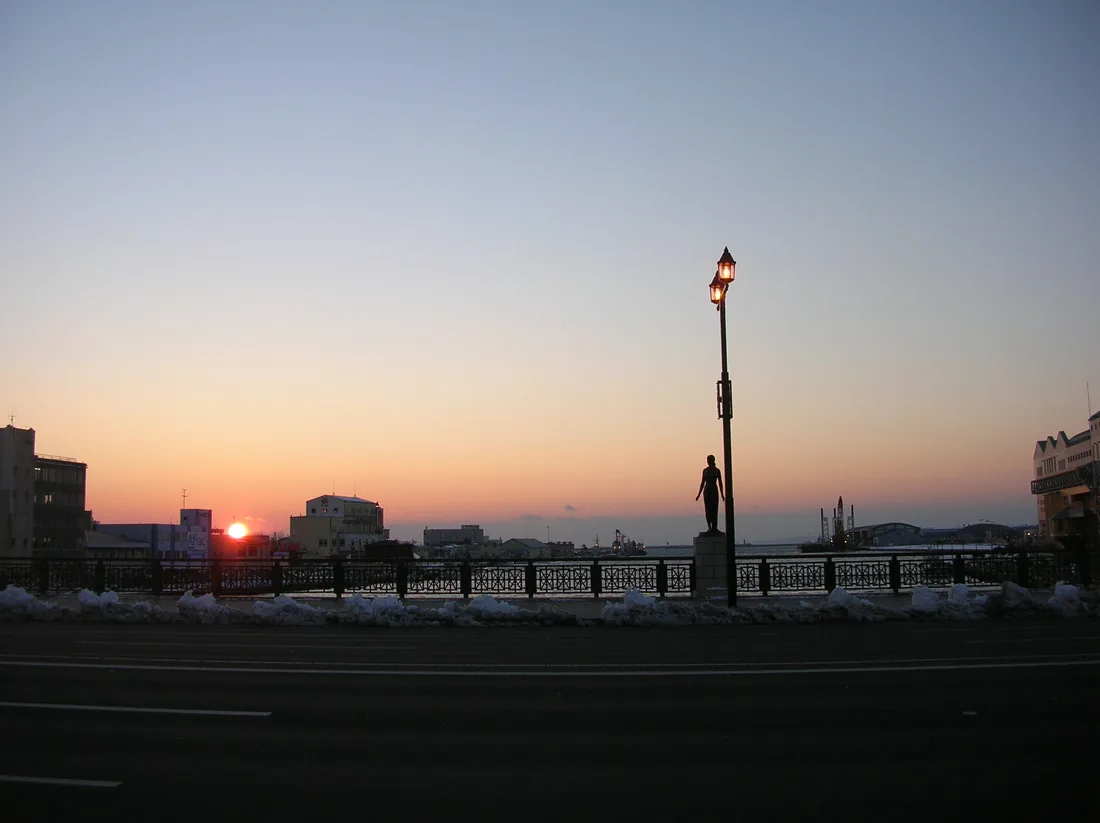
    Nusamai Bridge — the four seasons statues

    If your sail-away is late, come BACK here: the sunset is the town’s pride

    What you will see hereFull guide: Nusamai Bridge and Fisherman's Wharf MOO
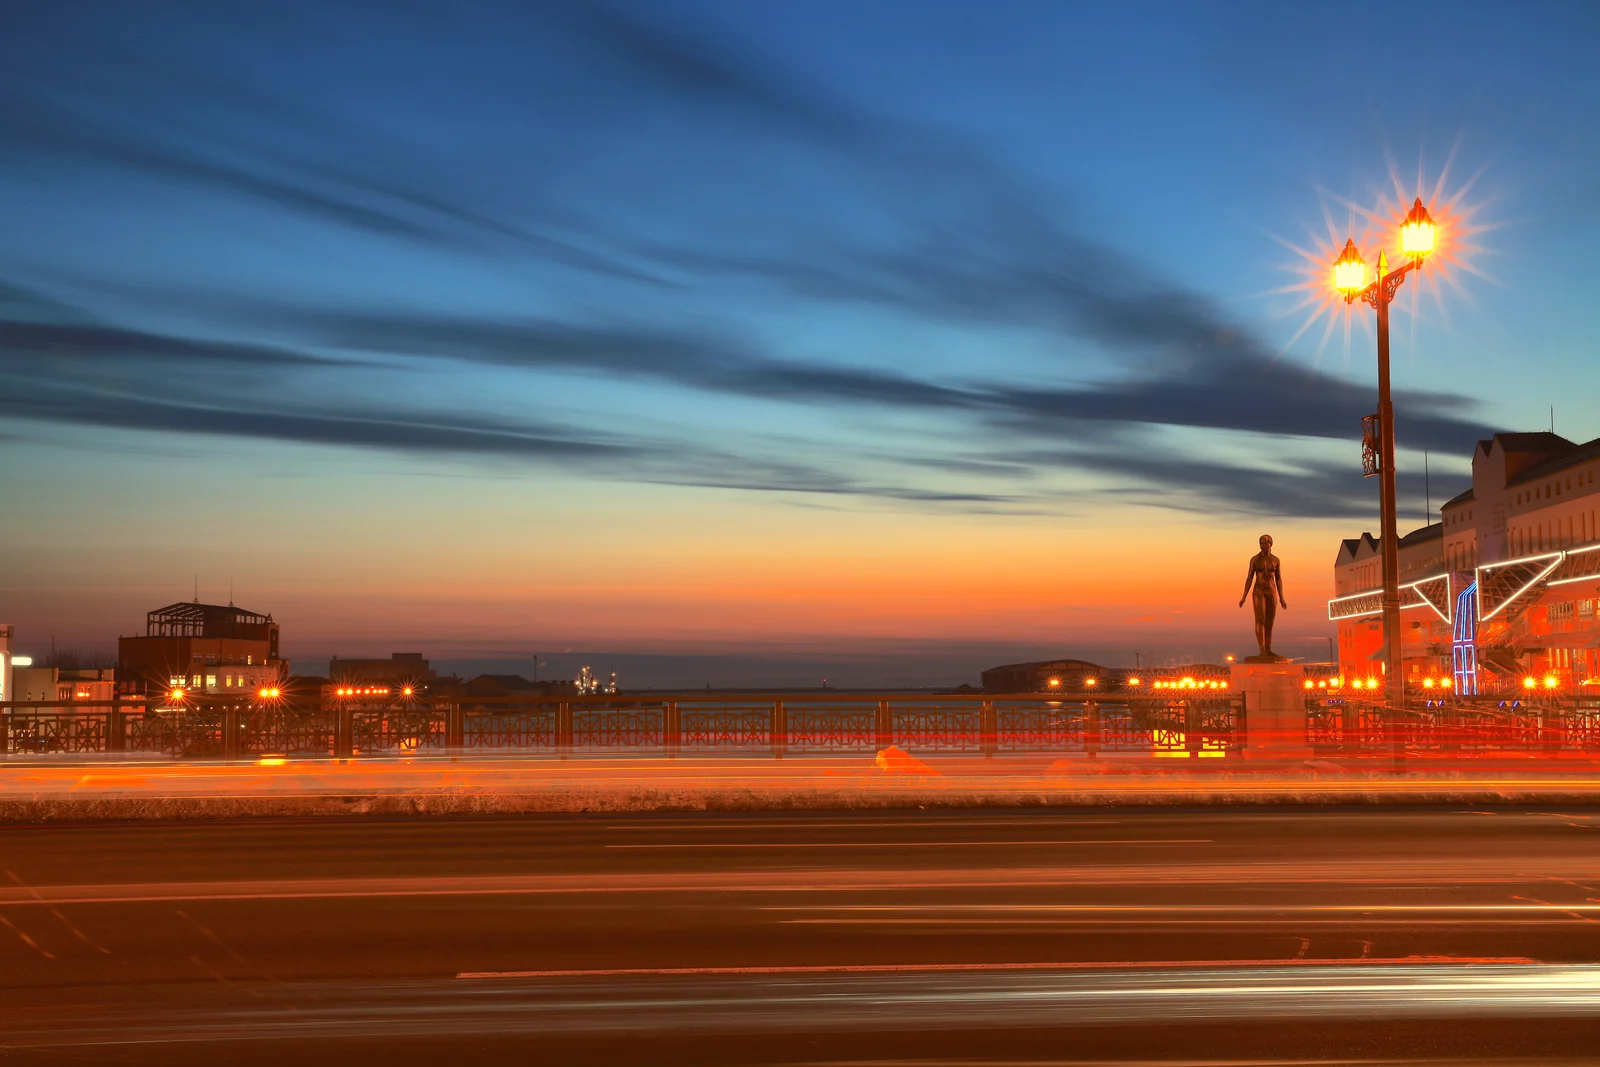
    Nusamai Bridge and Fisherman's Wharf MOO, Kushiro
    Photo: Blueapple48 / CC BY-SA 3.0
  5. +2:20
    Walk back to the terminal

    Ten flat minutes

Would rather have it arranged?Private Tour with Kushiro Marsh, Tancho, and Local MarketAdds the marsh and the cranes to MOO and the bridge, with a driver · from US$850 — why we list it
The margin is not optional. This route ends an hour before all-aboard on purpose. If you are running late, drop the last stop, not the hour.
What the day looks like

Kushiro, along this route

Real photographs of the places above and the streets between them. Every one is credited.
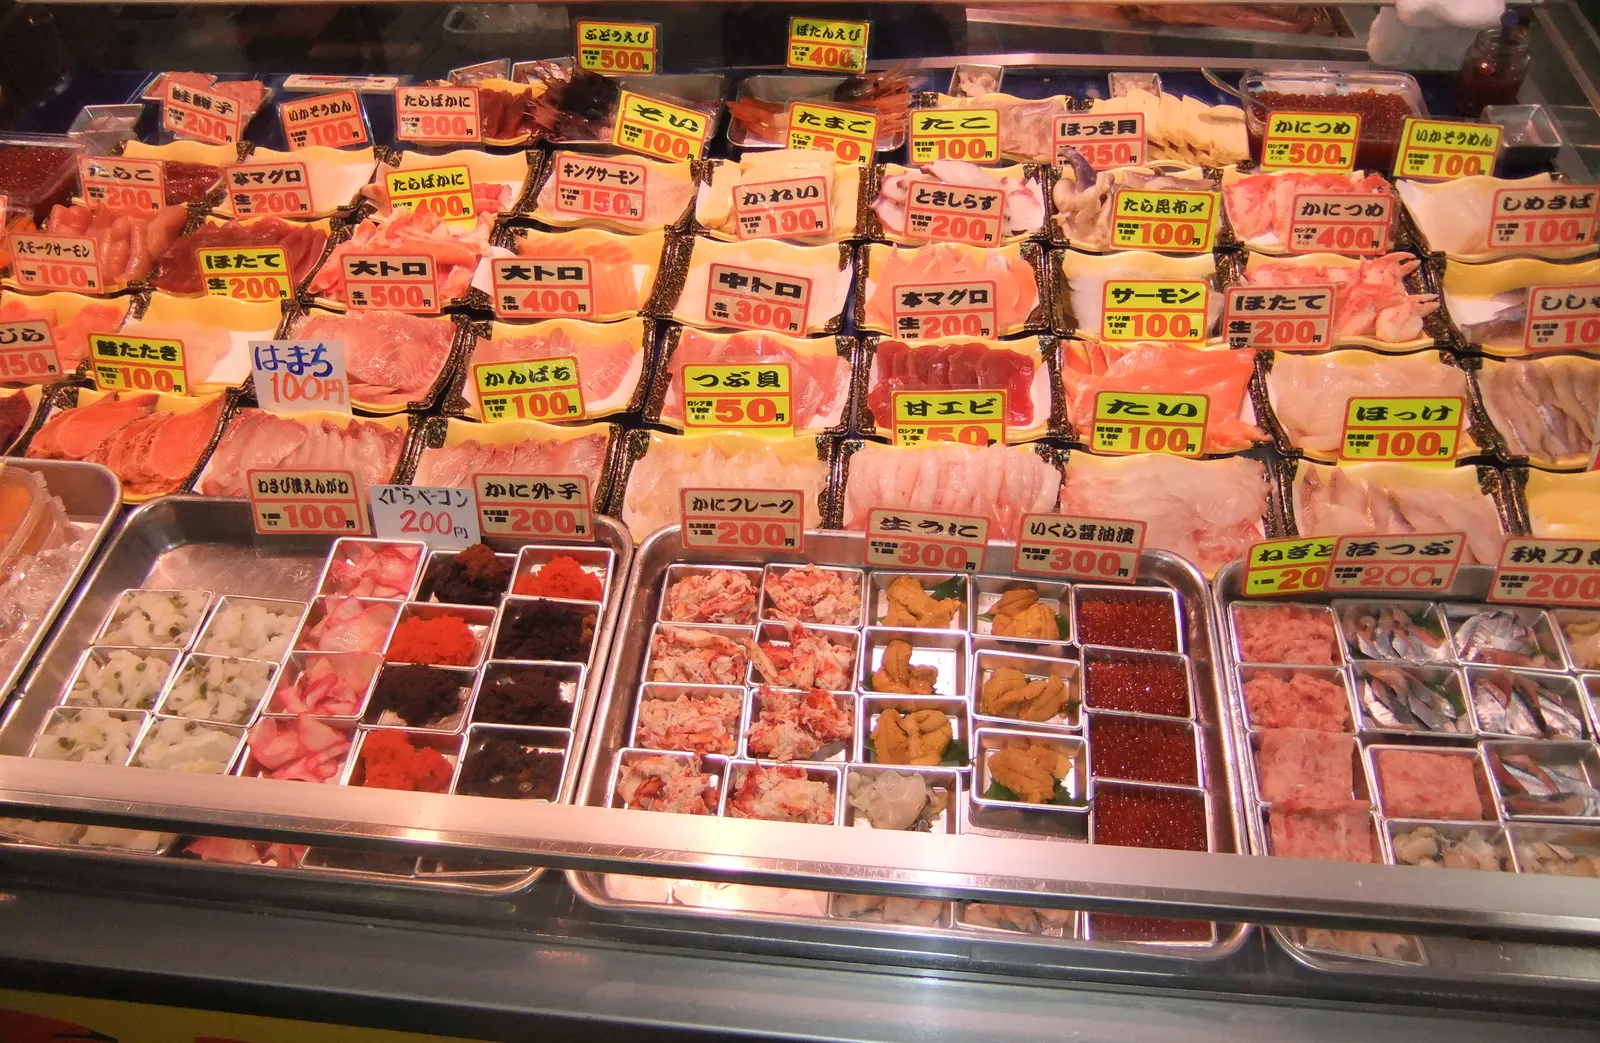
Washo Market and the Kattedon Bowl, Kushiro
Washo Market and the Kattedon BowlPhoto: Midori / CC BY 3.0
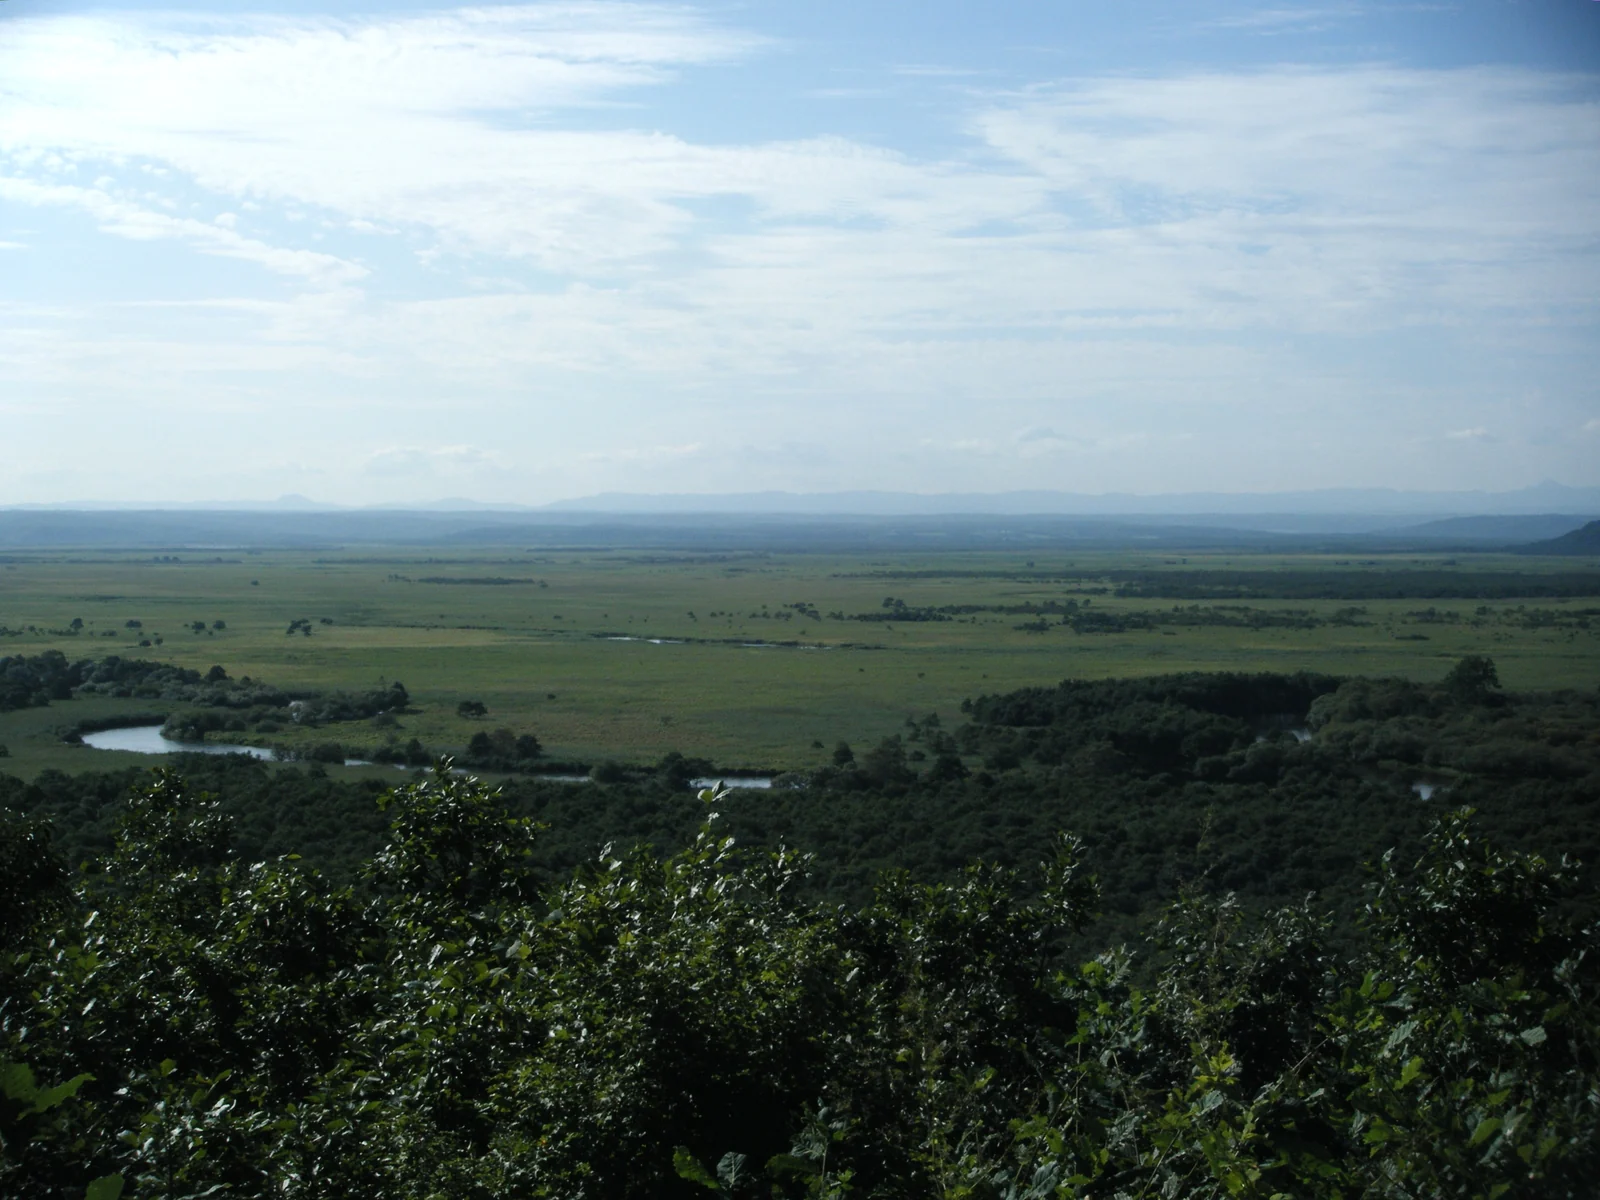
Kushiro Marsh Observatory
Kushiro Marsh ObservatoryPhoto: User:欅 / CC BY-SA 3.0
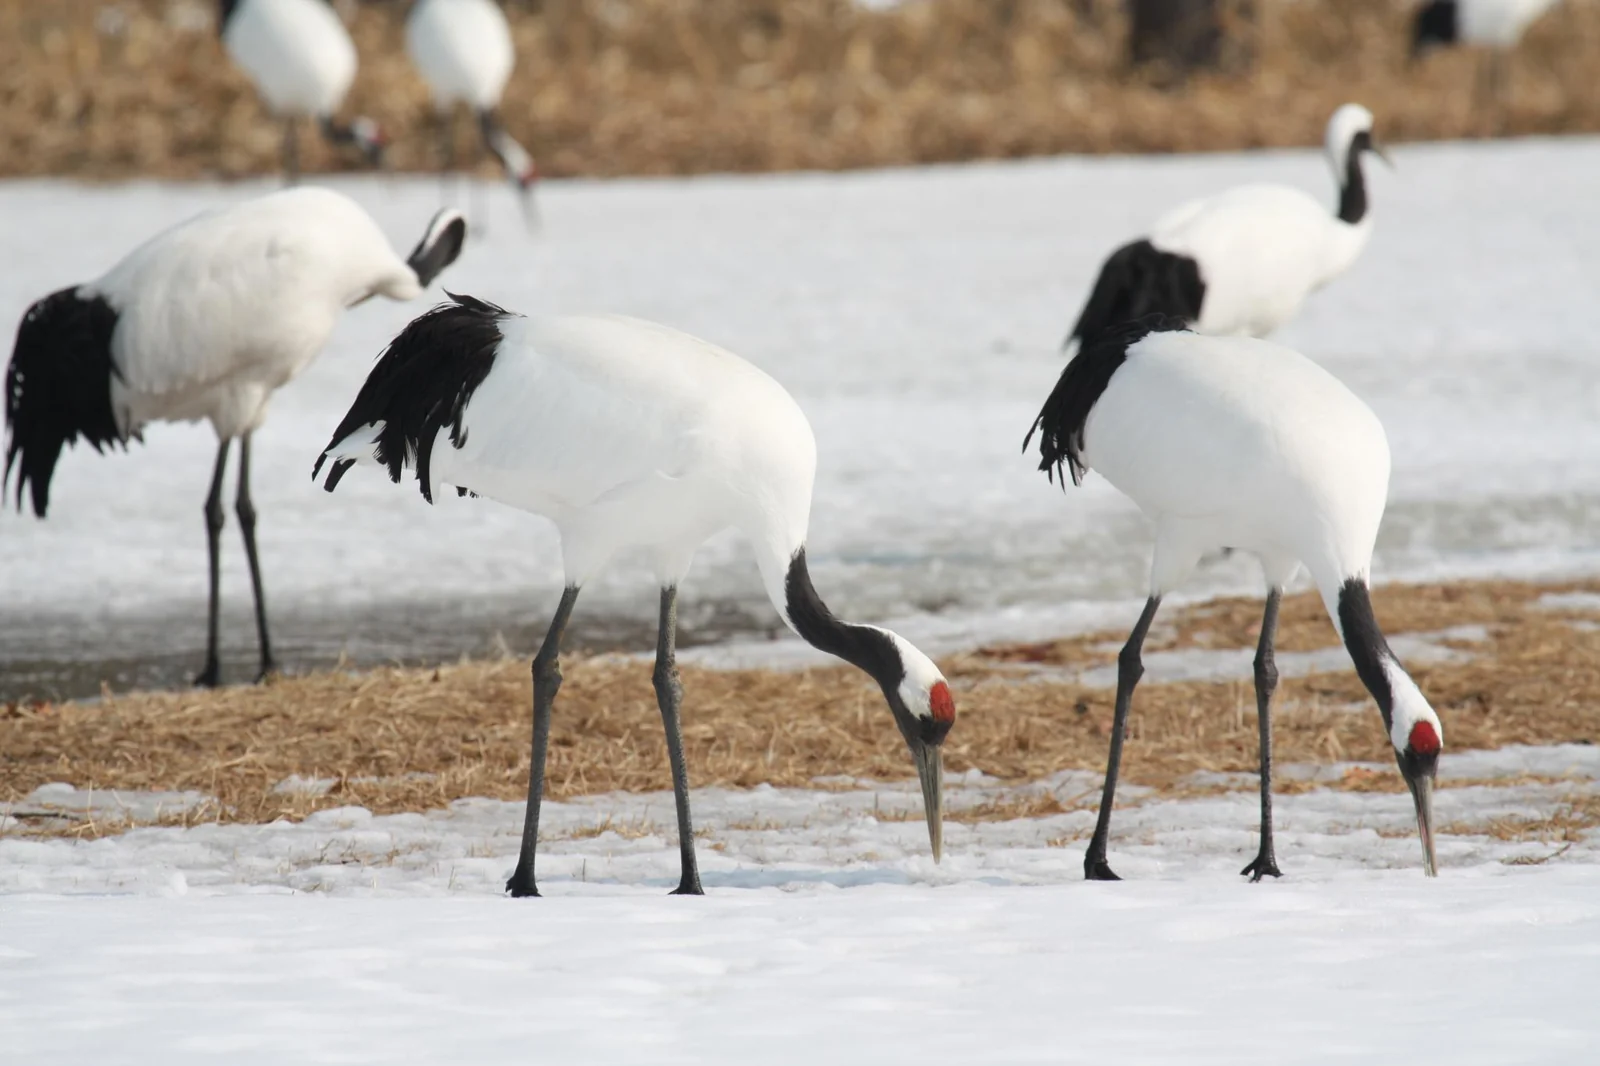
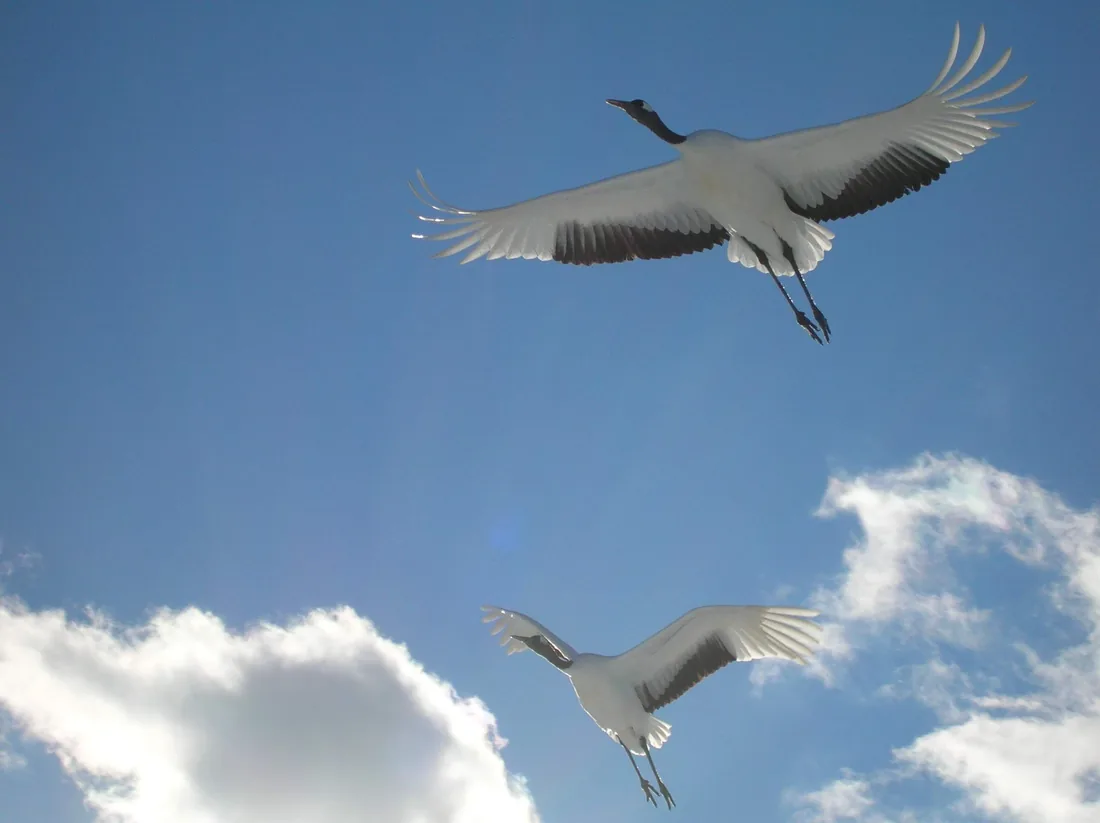
Red-crowned cranes in the Kushiro marsh
Red-crowned cranes in the Kushiro marshPhoto: Alastair Rae from London, United Kingdom / CC BY-SA 2.0
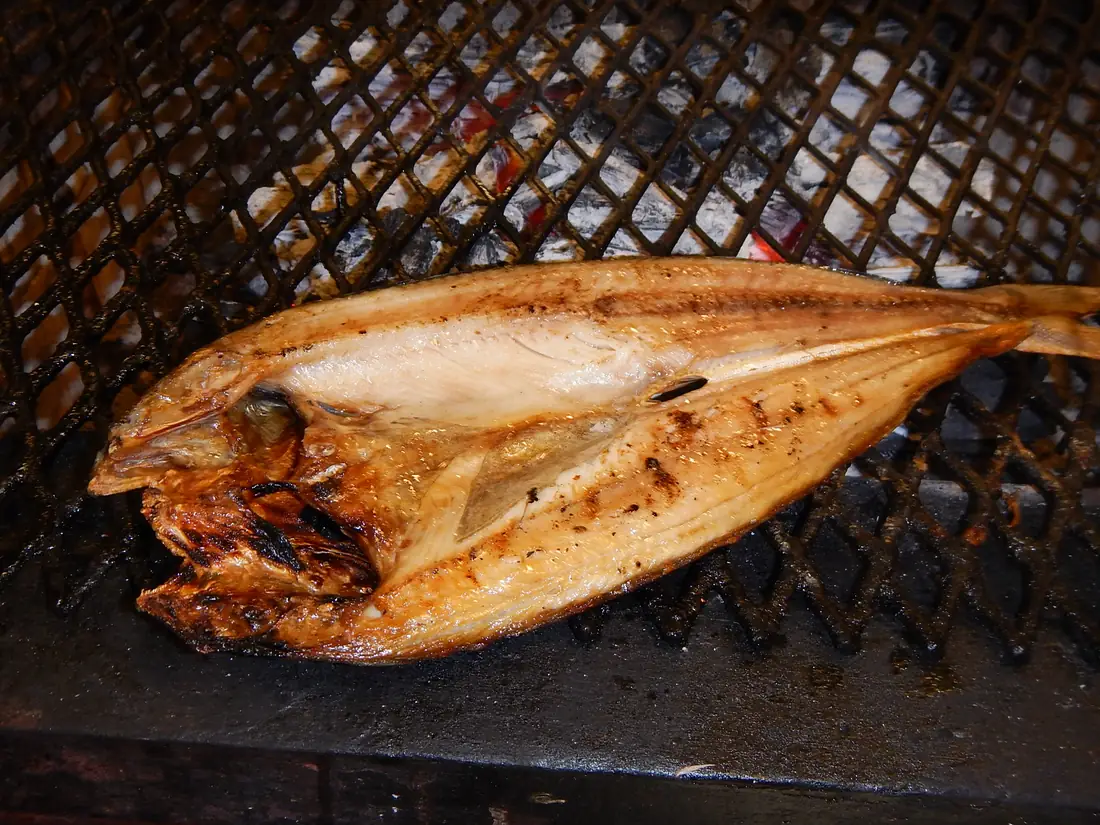
Robata-yaki — the birthplace problem, Kushiro
Robata-yaki — the birthplace problemPhoto: Highten31 / CC BY-SA 3.0
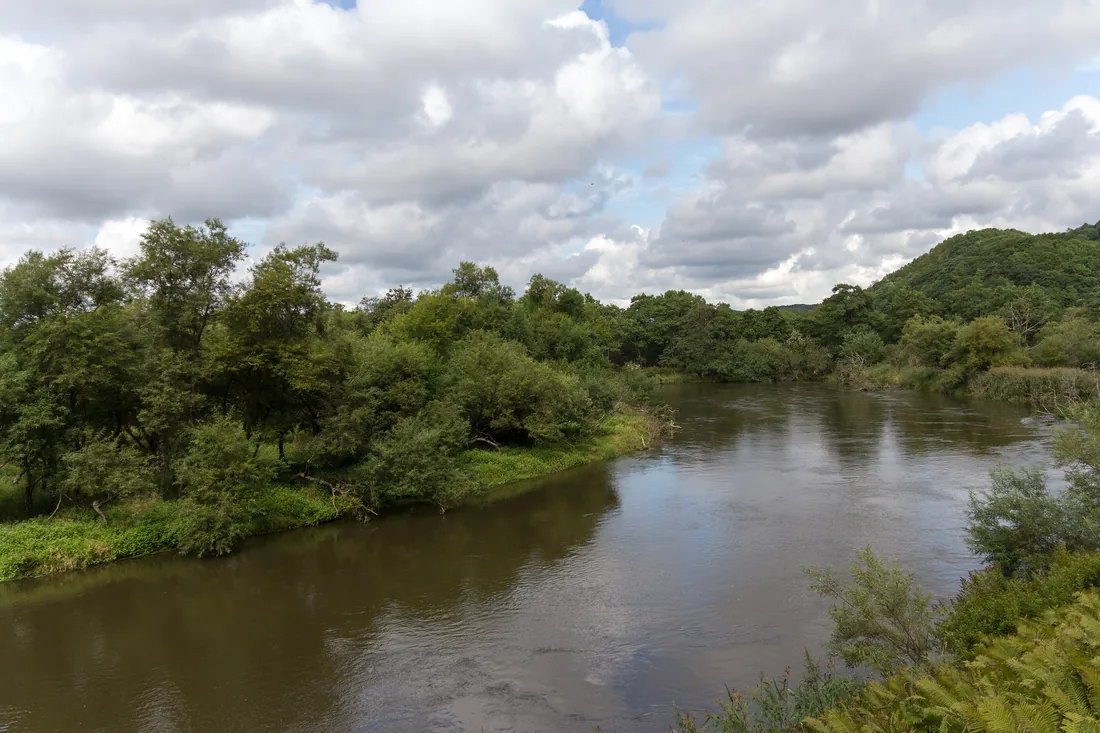
Kushiro Marsh
Kushiro MarshPhoto: User:欅 / CC BY-SA 3.0
Red-crowned Crane Park, Kushiro
Red-crowned Crane ParkPhoto: pakku / CC BY 3.0