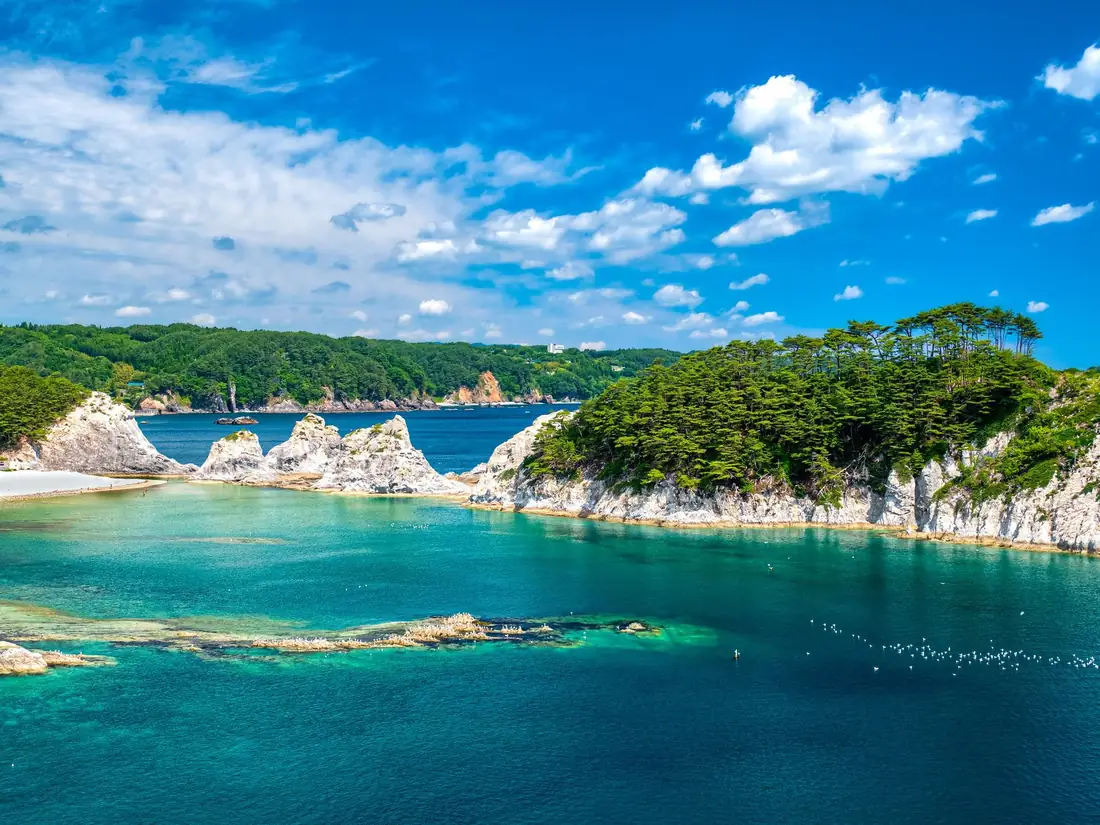
 Photo: Raita Futo from Tokyo, Japan / CC BY 2.0
Timed from the gangway with the port's official timetables · updated · Takumi Yamada
Numbers follow the route below. Pins are the places themselves; walking lines are not drawn because the best way between two stops can change with the tram, the tide or the weather.
How the day runs
Times are from the moment you step off, not from the scheduled arrival. Everything shifts if your ship is late; the order does not.
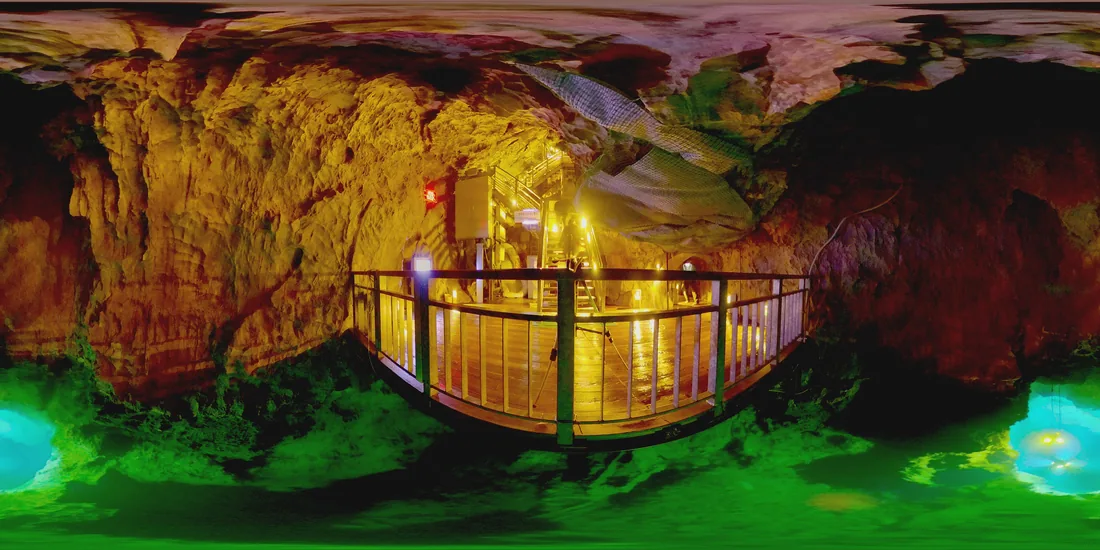
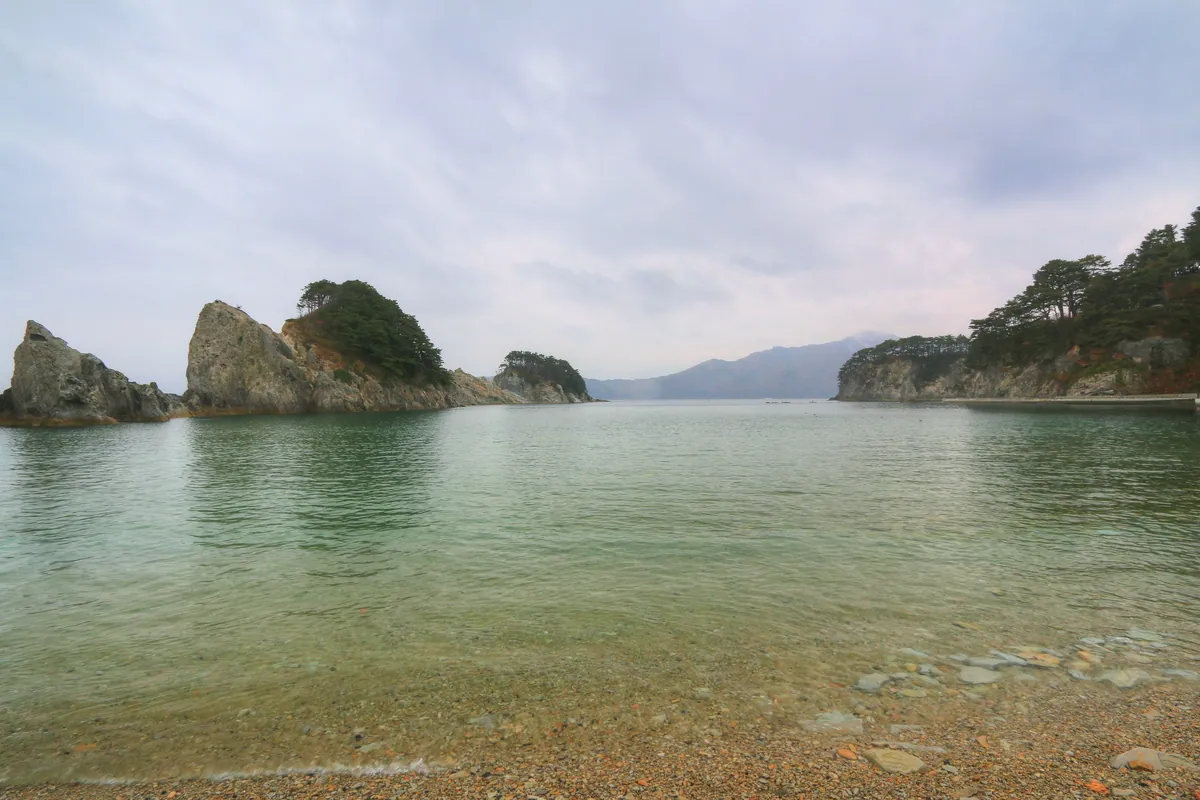
- +0:00Taxi to Jodogahama early
Beat the boats: cave first, beach after
What you will see here - +1:45Taxi/bus back to Miyako Station
On an 08:00 arrival, catch the 10:45 (fare ¥510); the other trains leave Miyako roughly every 170 minutes, 9:20–15:00
What you will see here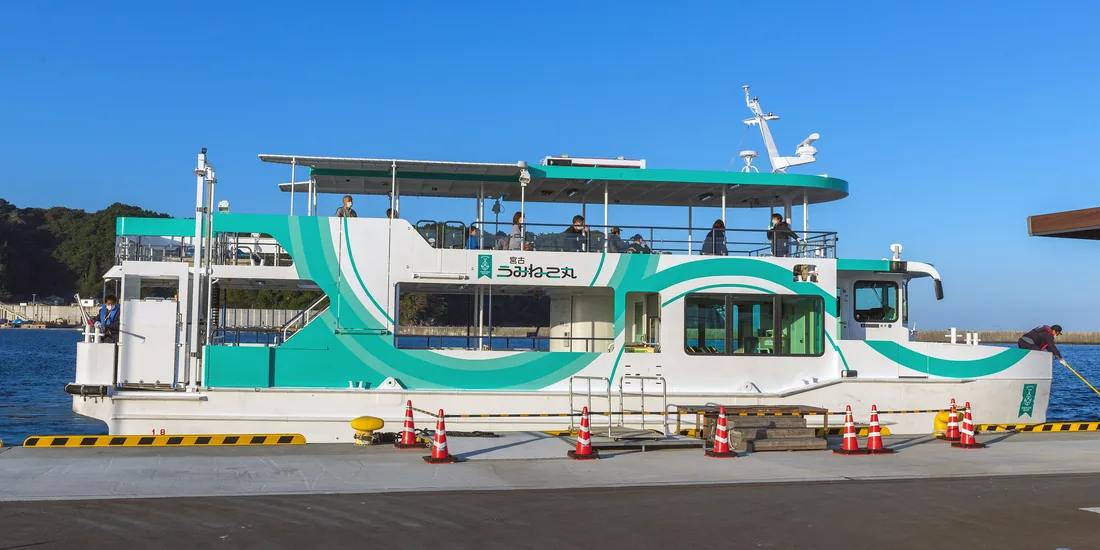
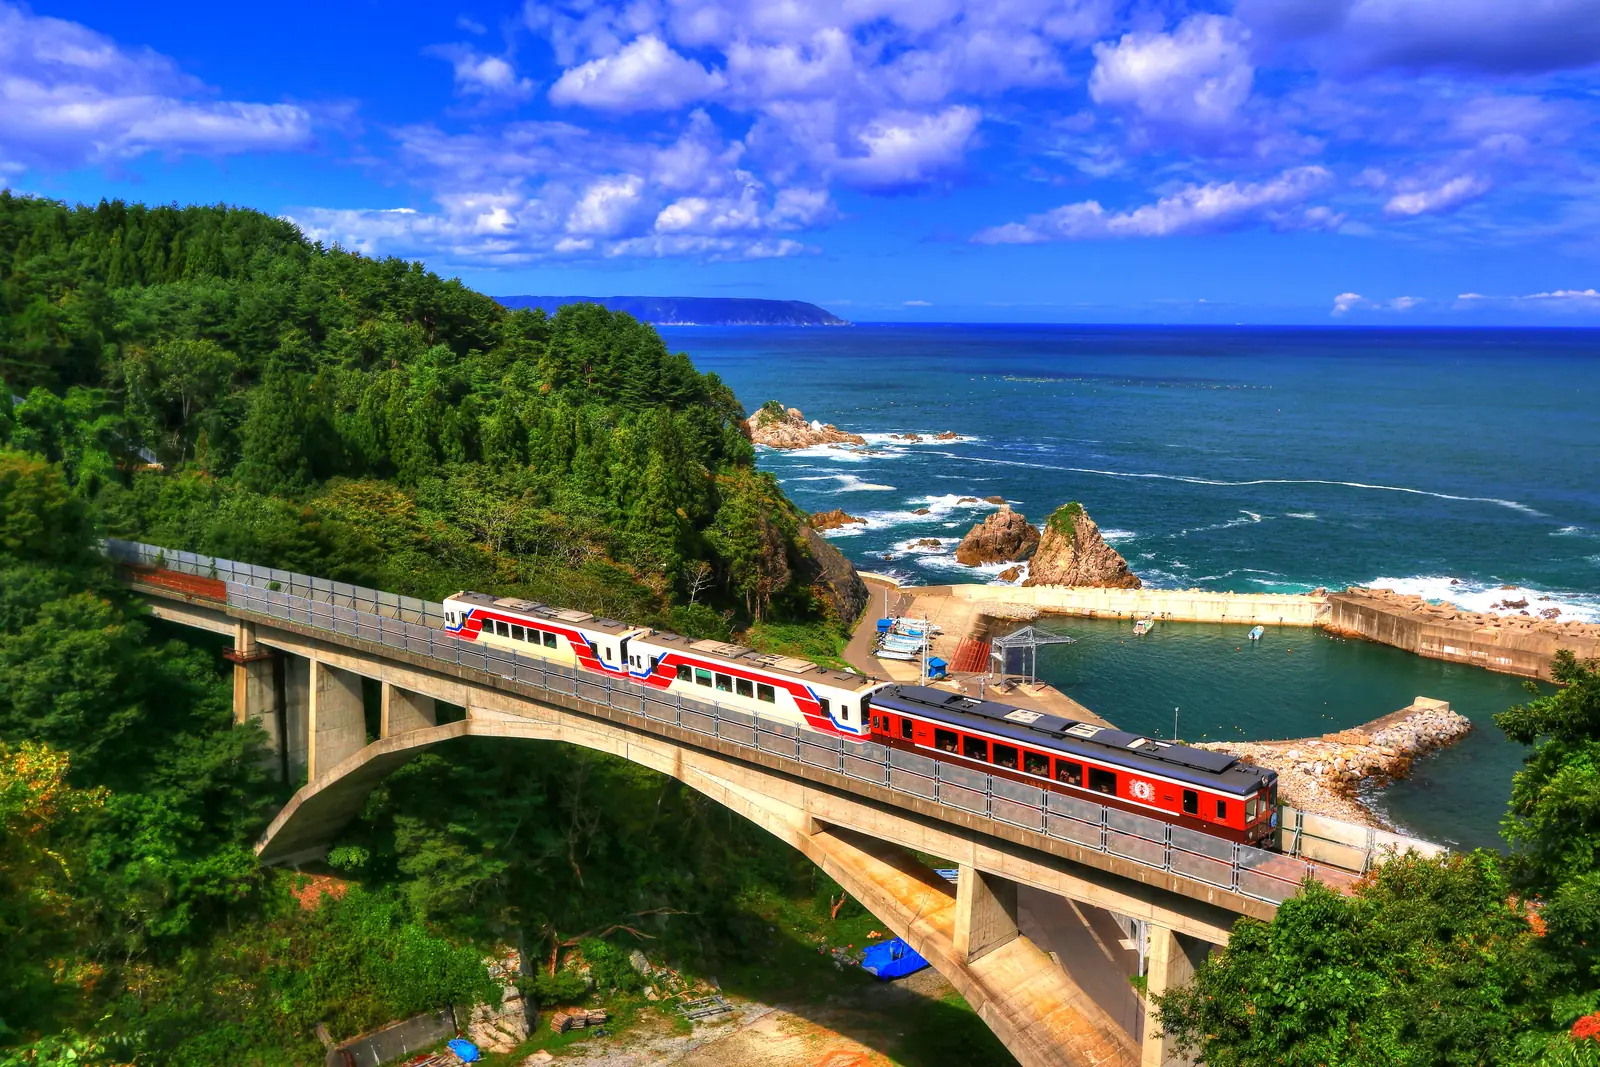
Photo: Yasu / CC BY-SA 3.0 - +2:15Rias Line to Taro (~20 min of cliff-and-bay riding)
The recovery railway itself is part of the story
What you will see here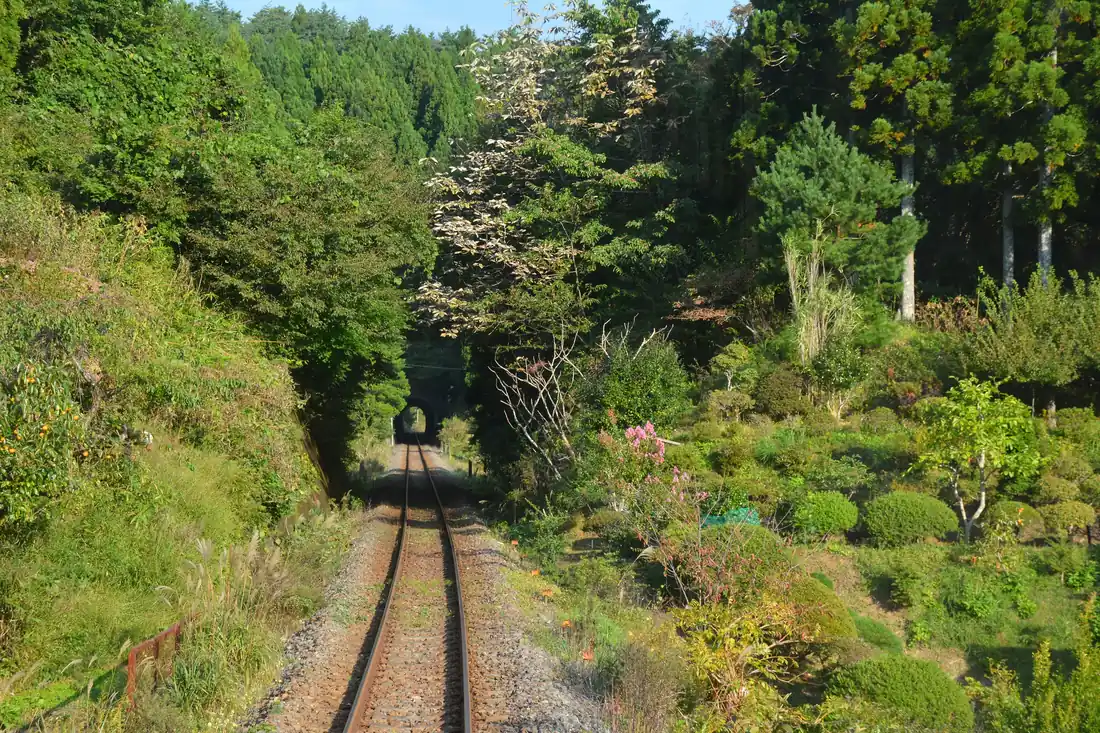
Photo: Cheng-en Cheng / CC BY-SA 2.0 - +2:40Taro: the seawalls, old and new
The 1934–1979 X-wall the sea overtopped, and the 14.7 m wall finished 2021 · book the ¥5,000 (1–9 people) guided tour ahead if you want the full hour
What you will see here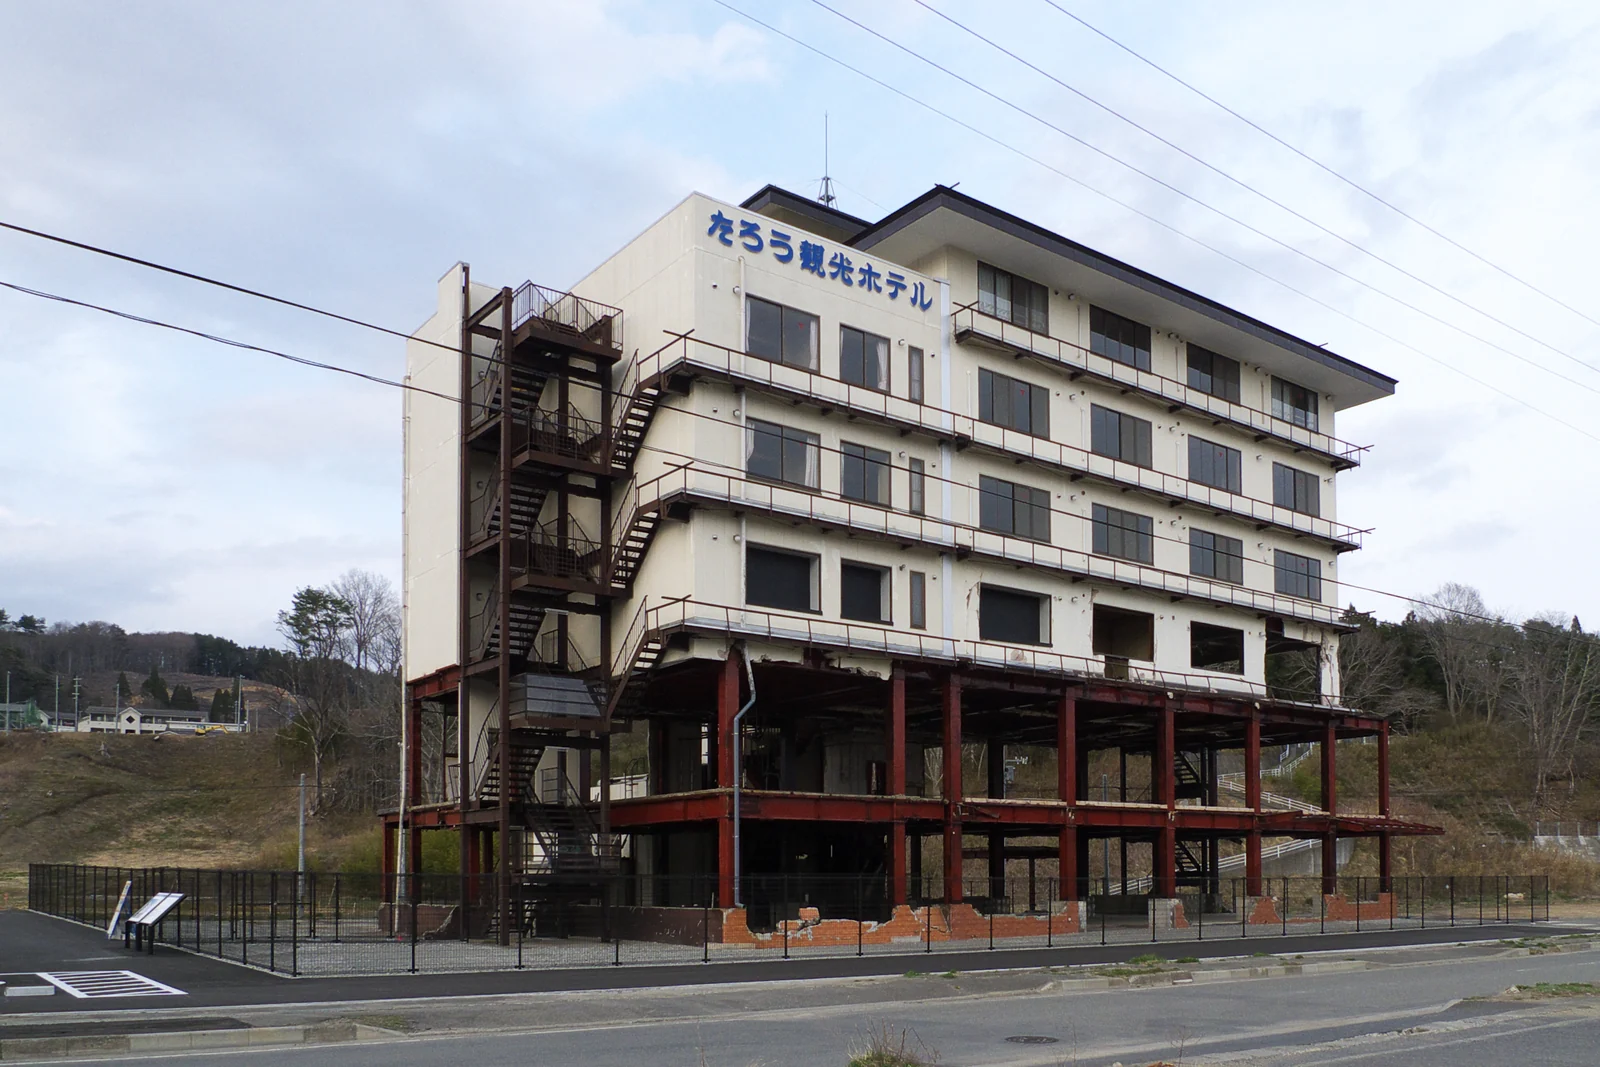
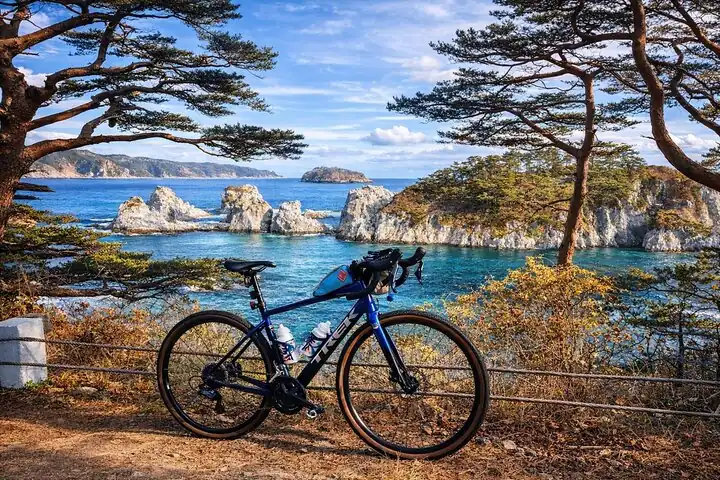
Photo: Yasu / CC BY-SA 3.0 - +3:40Sanoiwa if time allows (5 min by taxi from Taro station, or 25–30 min on foot each way)
Three sea stacks, the tallest 50 meters · the shore path was damaged in 2011, so check at Taro which paths are open
What you will see here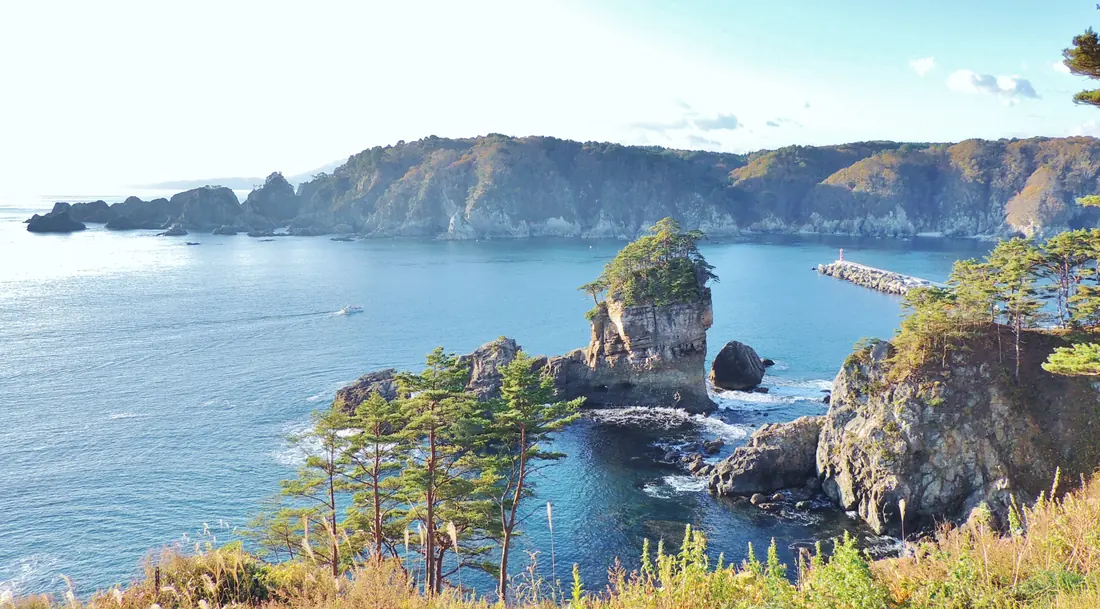
Photo: Yoshio Kohara / CC BY 3.0 - +4:40Train back → late bin-don at the market
Take the 13:25 from Taro — the Oikawa counter stops serving at 15:30 · closed Wednesdays
What you will see here
Photo: くろふね / CC BY 4.0 - +6:00Shuttle/taxi to the wharf
Margin spent on nothing, as always
Miyako, along this route
Real photographs of the places above and the streets between them. Every one is credited.