PORT OF JAPAN
The west-side loop, Miyakojima

Home / Miyakojima / Your day / Route

For a 6-hour call · Miyakojima

The west-side loop

Pre-booked charter or rental — the bridge and the great beach. Timed from the gangway and back.

4 hr door to door5 stopsNeeds a 6-hour call
Photo: Rsa / CC BY-SA 3.0
Door to door
4 hr
From the gangway and back
Best for
A 6-hour call or longer
Pre-booked charter or rental — the bridge and the great beach
Room to spare
None
Fits a 6-hour stop with nothing to add (off the ship 30 minutes after arrival, back at the gangway an hour before all-aboard). A longer call gives you the extra time; on this one, do not add a stop.
What it costs
about ¥3,000–4,000 an hour
Charter about ¥3,000–4,000 an hour on published quotes — ¥12,000–16,000 per car for the four-hour loop; beaches free.
Booking
Book ahead
At least one step needs booking before you sail: the steps below say which

Timed from the gangway with the port's official timetables · updated · Takumi Yamada

Numbers follow the route below. Pins are the places themselves; walking lines are not drawn because the best way between two stops can change with the tram, the tide or the weather.

The route

How the day runs

Times are from the moment you step off, not from the scheduled arrival. Everything shifts if your ship is late; the order does not.

  1. +0:00
    Charter taxi or rental car from the port

    Booked before you sailed — this is the step that cannot be improvised

  2. +0:15
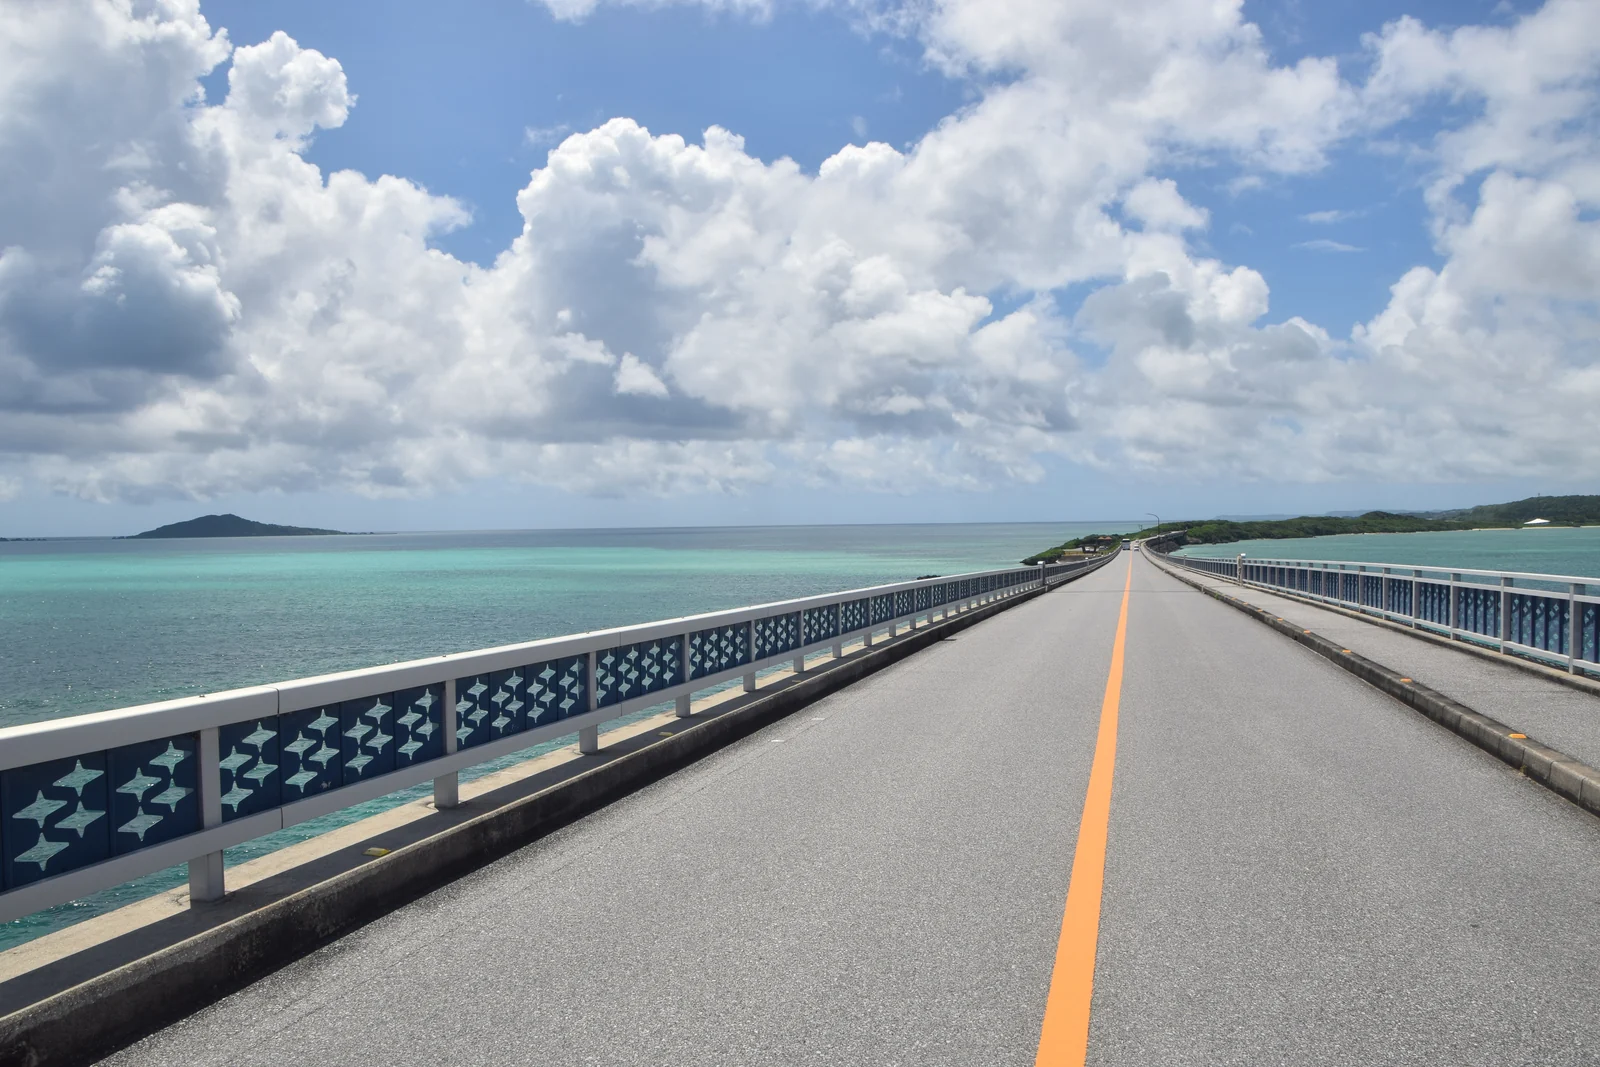
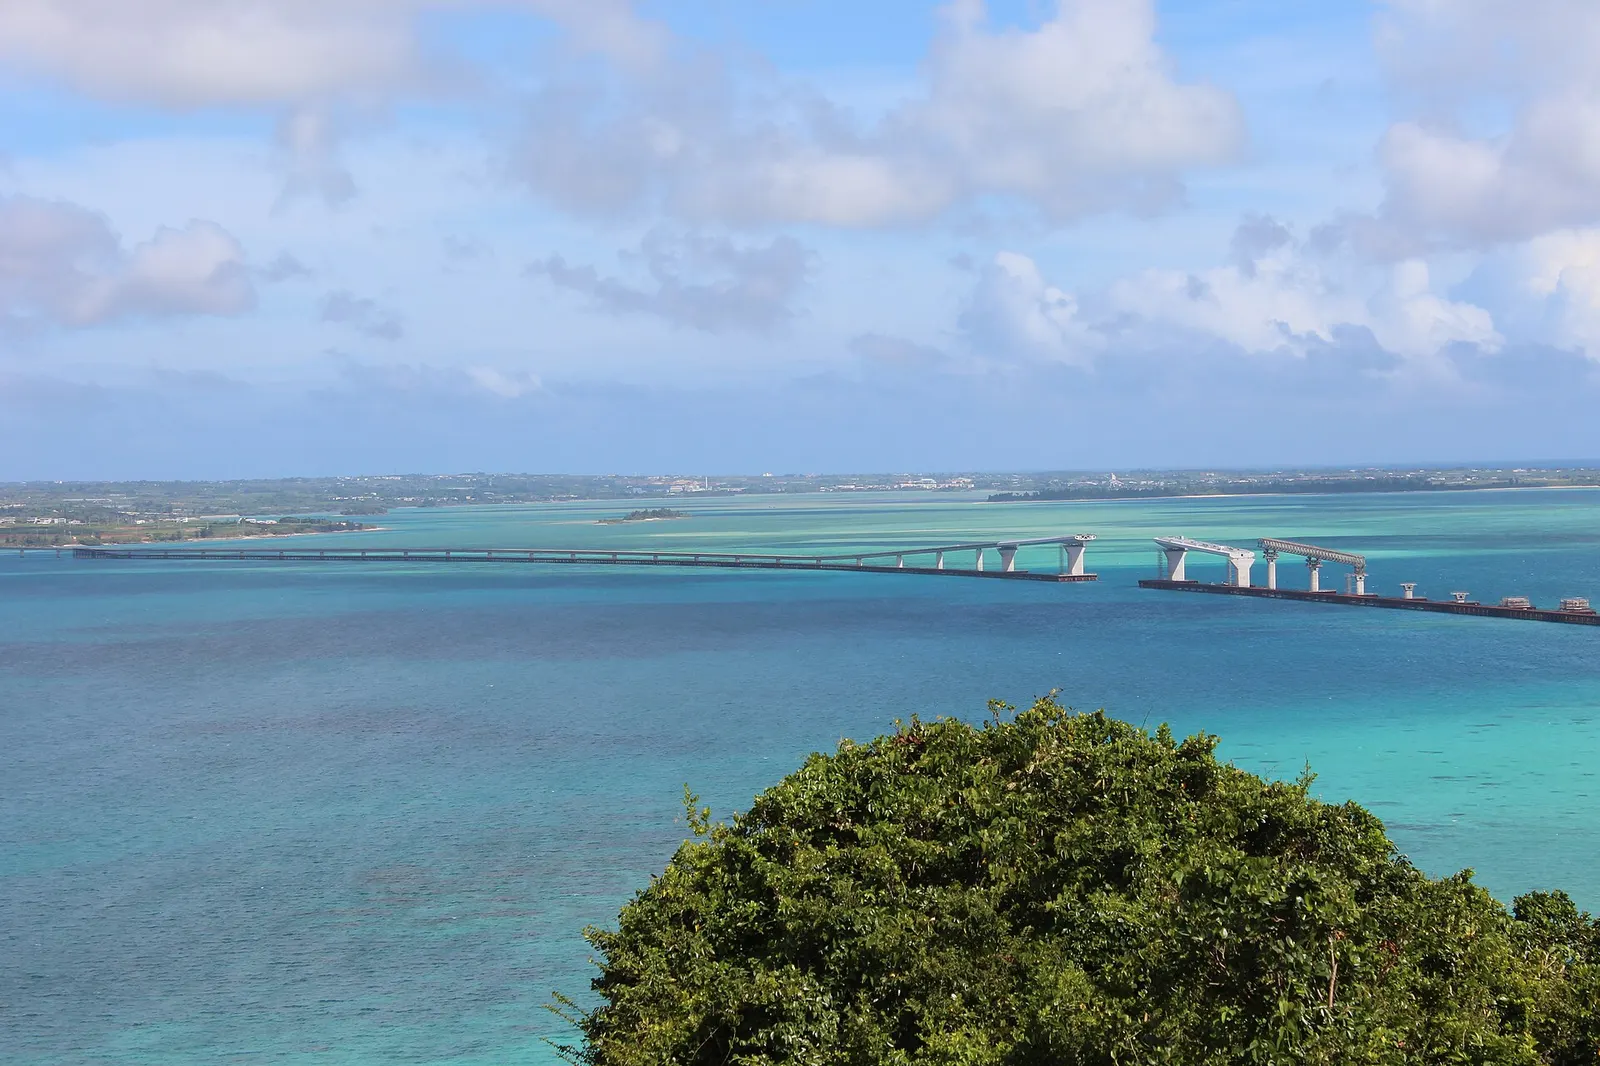
    Cross Irabu Ohashi, lookout on the far side

    3,540m of Miyako blue; the far lookouts face the span

    What you will see hereFull guide: Irabu Ohashi
  3. +1:15
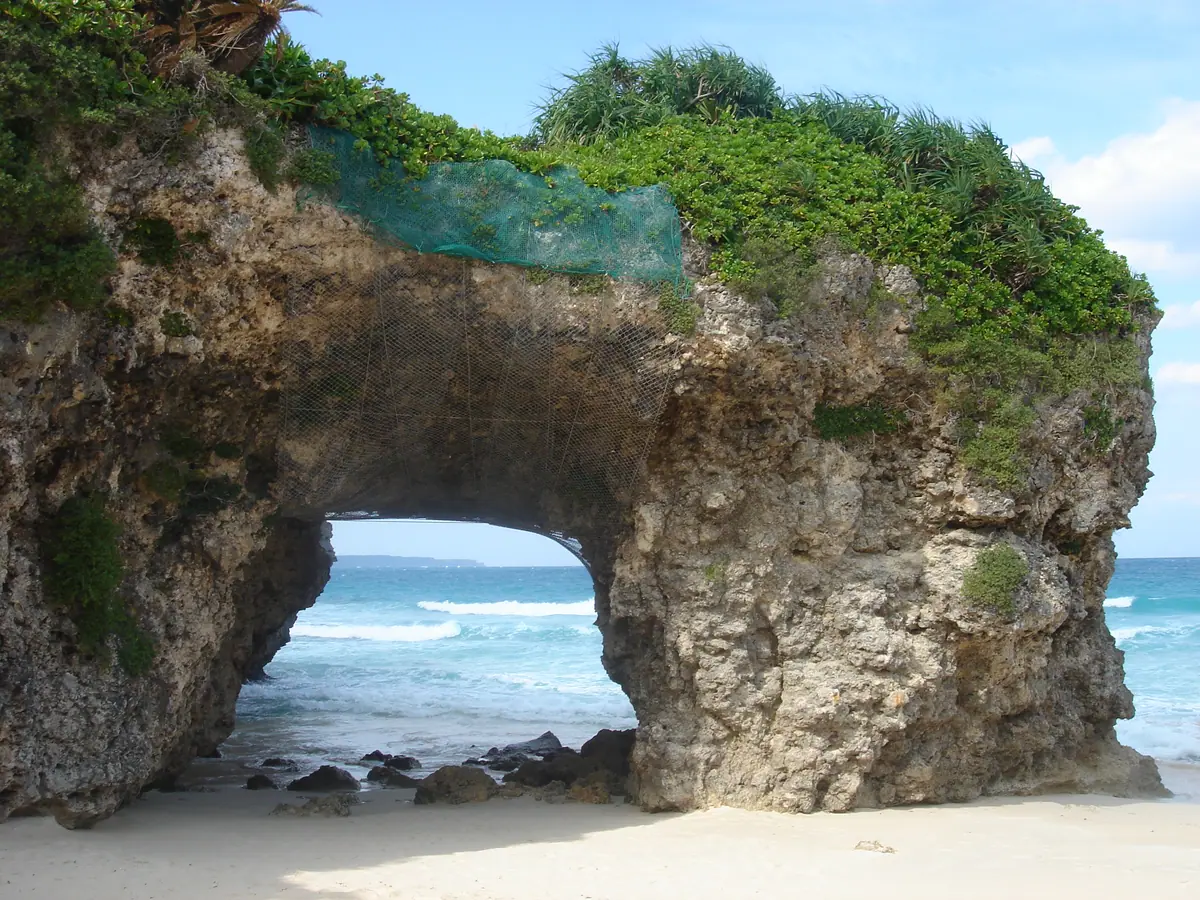
    17END if tides allow, or Sunayama Beach

    17END is a walk-in; Sunayama’s arch is viewed, not stood under

    What you will see hereFull guide: Sunayama Beach
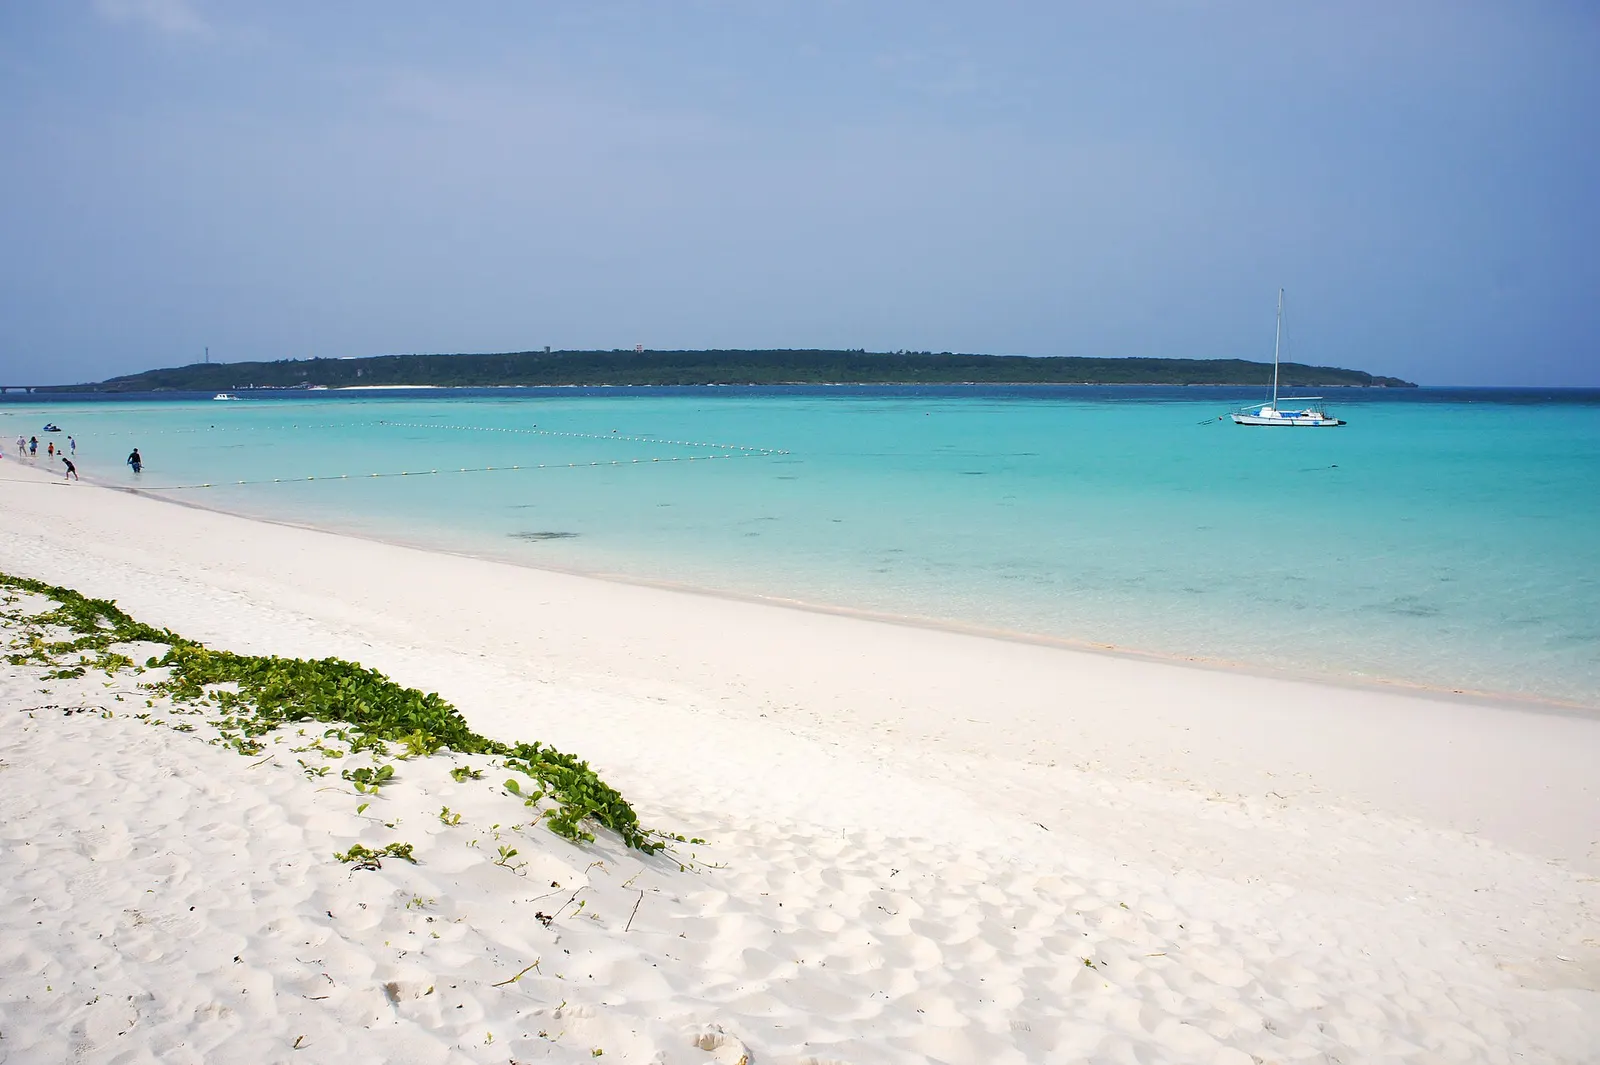
    Yonaha Maehama beach, Miyakojima
    Photo: 663highland / CC BY 2.5
  4. +2:15
    Yonaha Maehama

    Seven kilometres of the whitest sand in Japan — swim in season

    What you will see hereFull guide: Yonaha Maehama
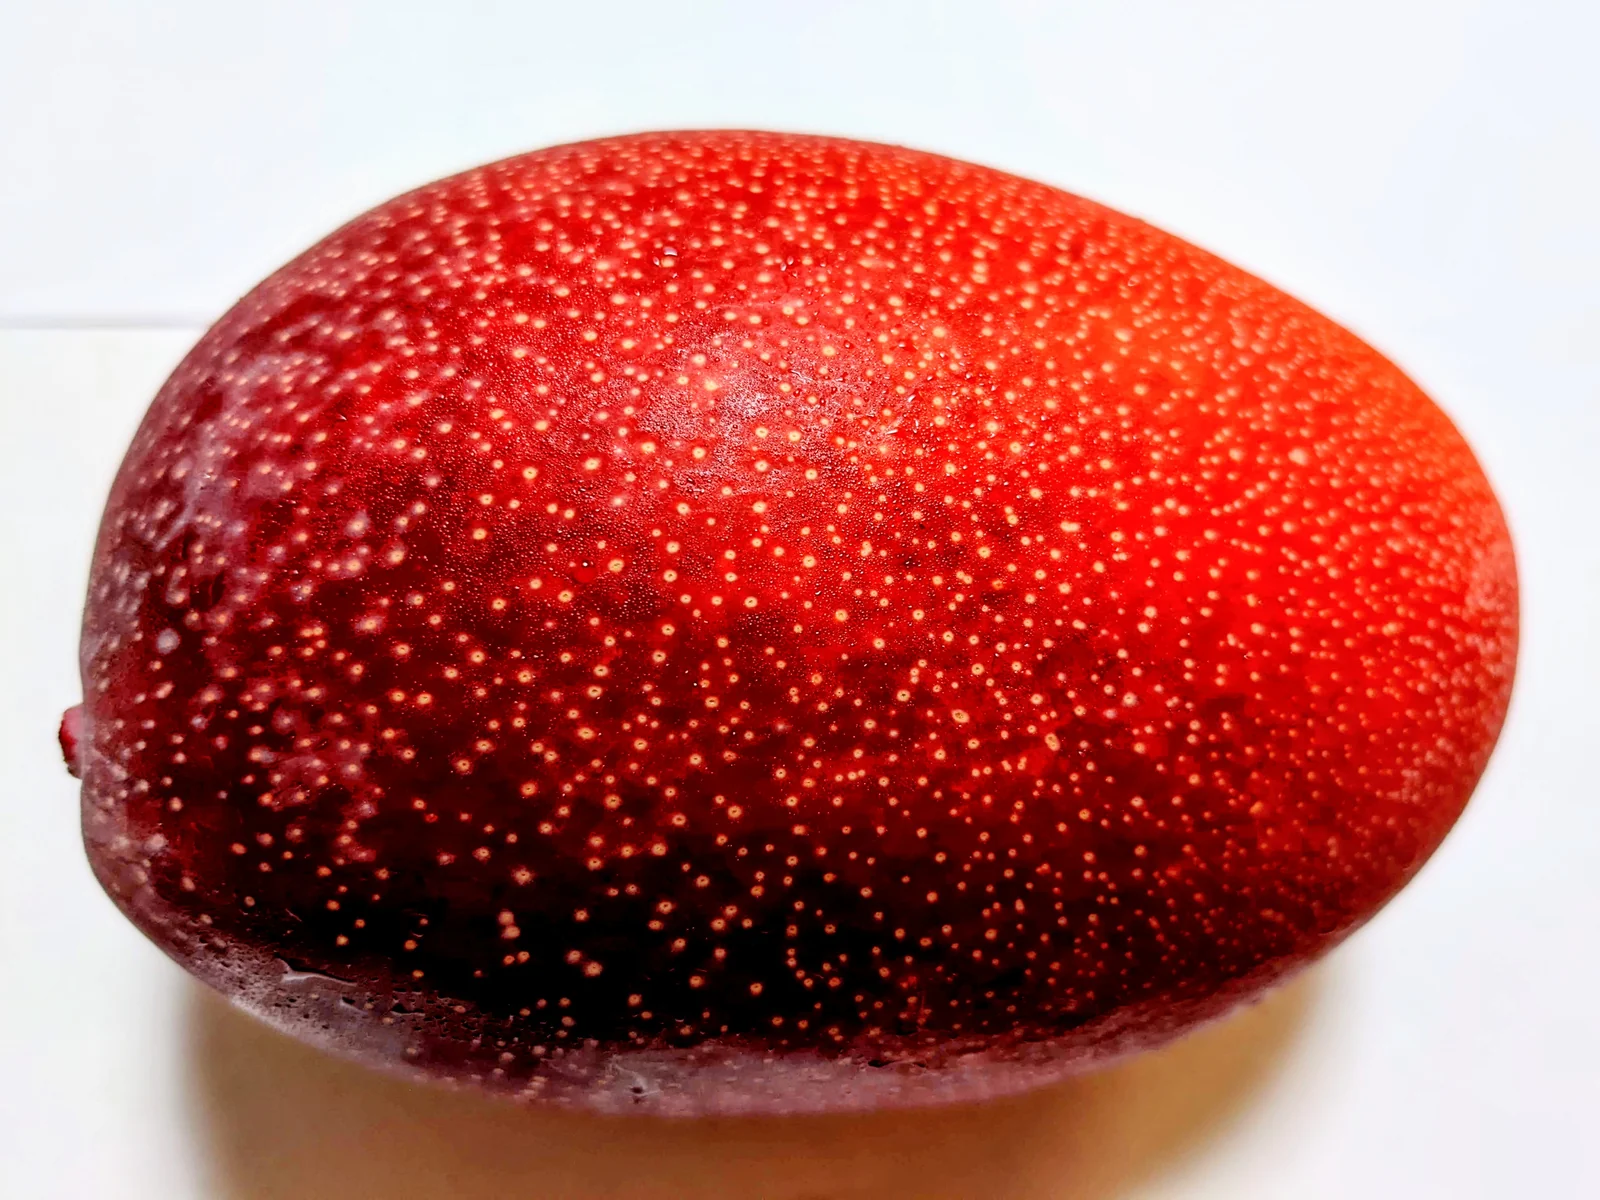
    Mango, whole, in season, Miyakojima
    Photo: Leo219 / CC BY-SA 4.0
  5. +3:30
    Back to the ship

    ~20 min from Maehama

    What you will see here
The margin is not optional. This route ends an hour before all-aboard on purpose. If you are running late, drop the last stop, not the hour.
What the day looks like

Miyakojima, along this route

Real photographs of the places above and the streets between them. Every one is credited.
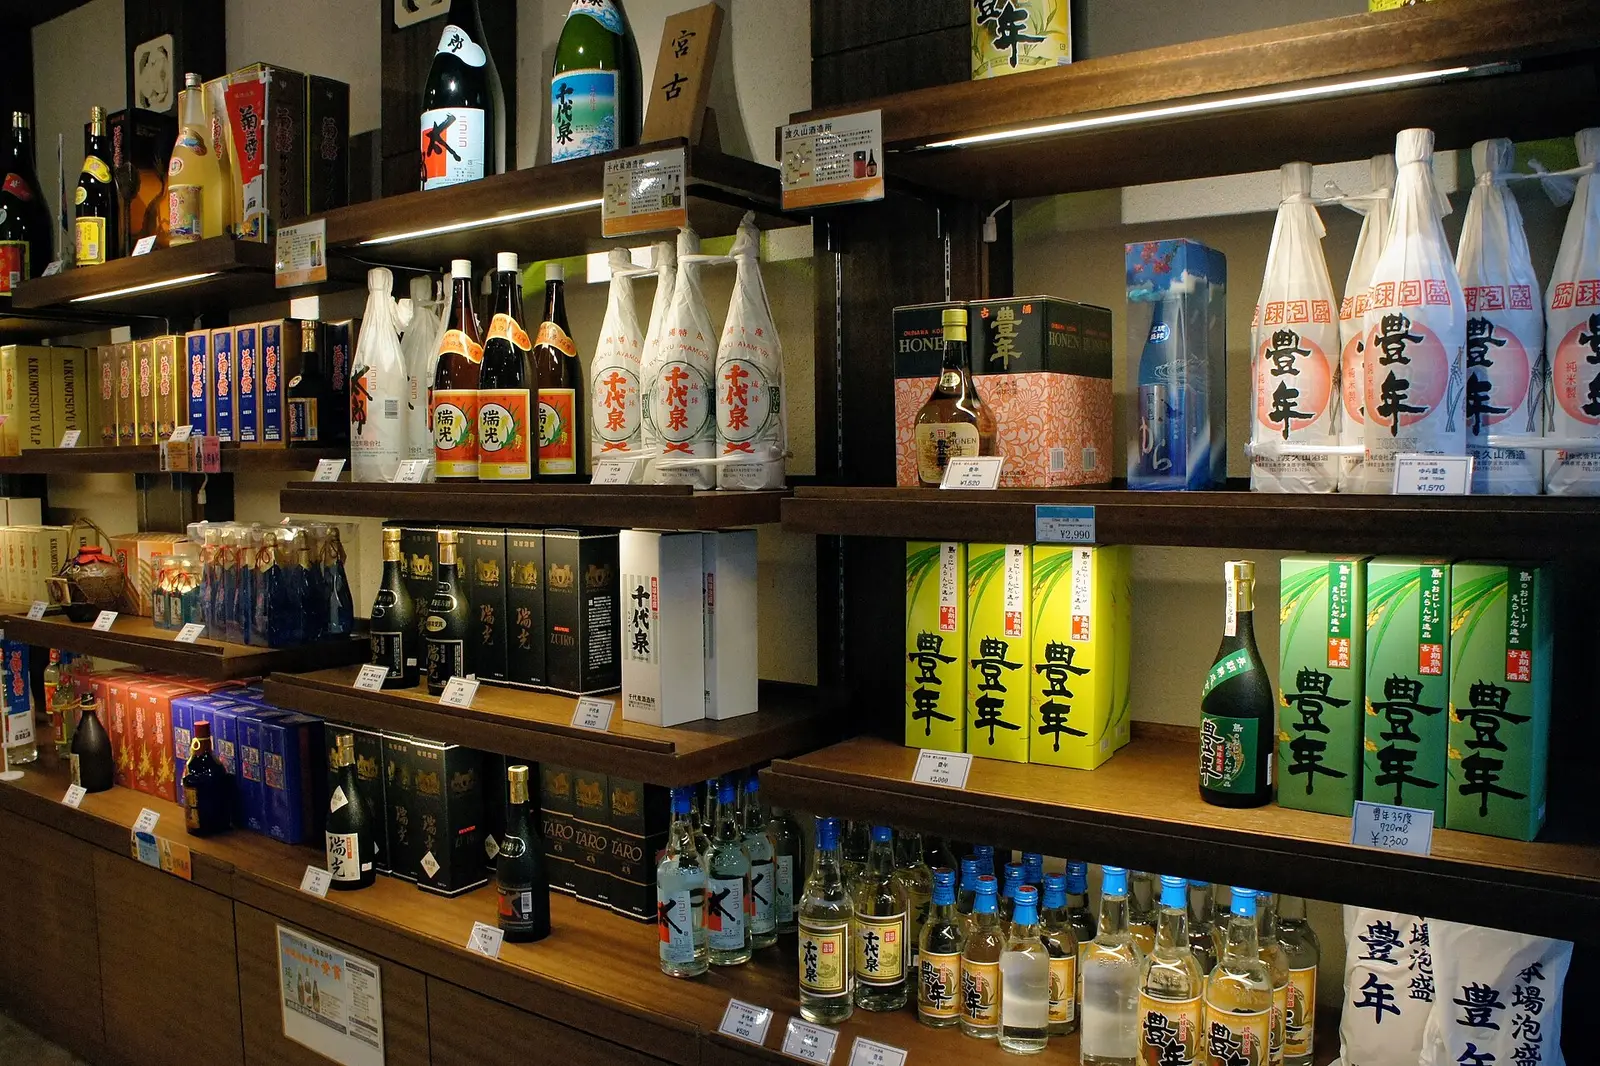
Bottles of Miyakojima awamori lined up on a shelf
Bottles of Miyakojima awamori lined up on a shelfPhoto: rch850 / CC BY 2.0
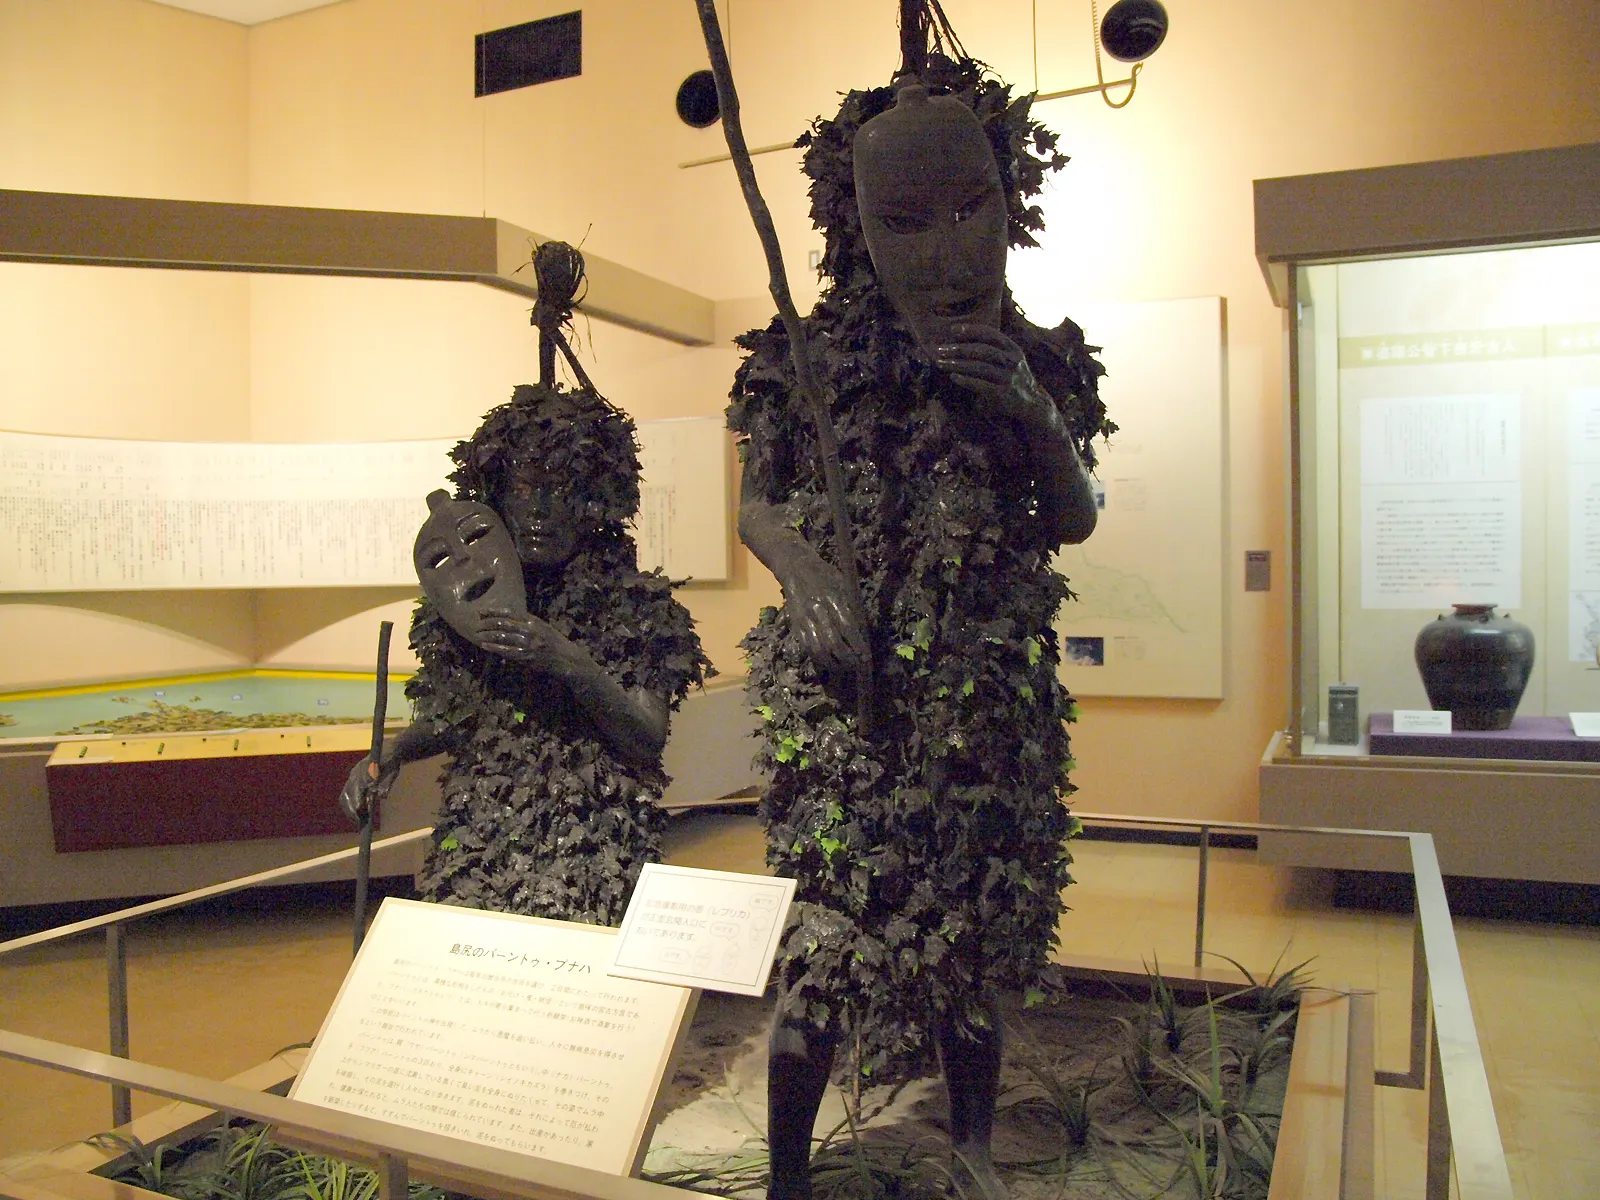
A Paantu spirit covered head to toe in mud and vines, Miyakojima
A Paantu spirit covered head to toe in mud and vinesPhoto: Paipateroma / CC BY 3.0
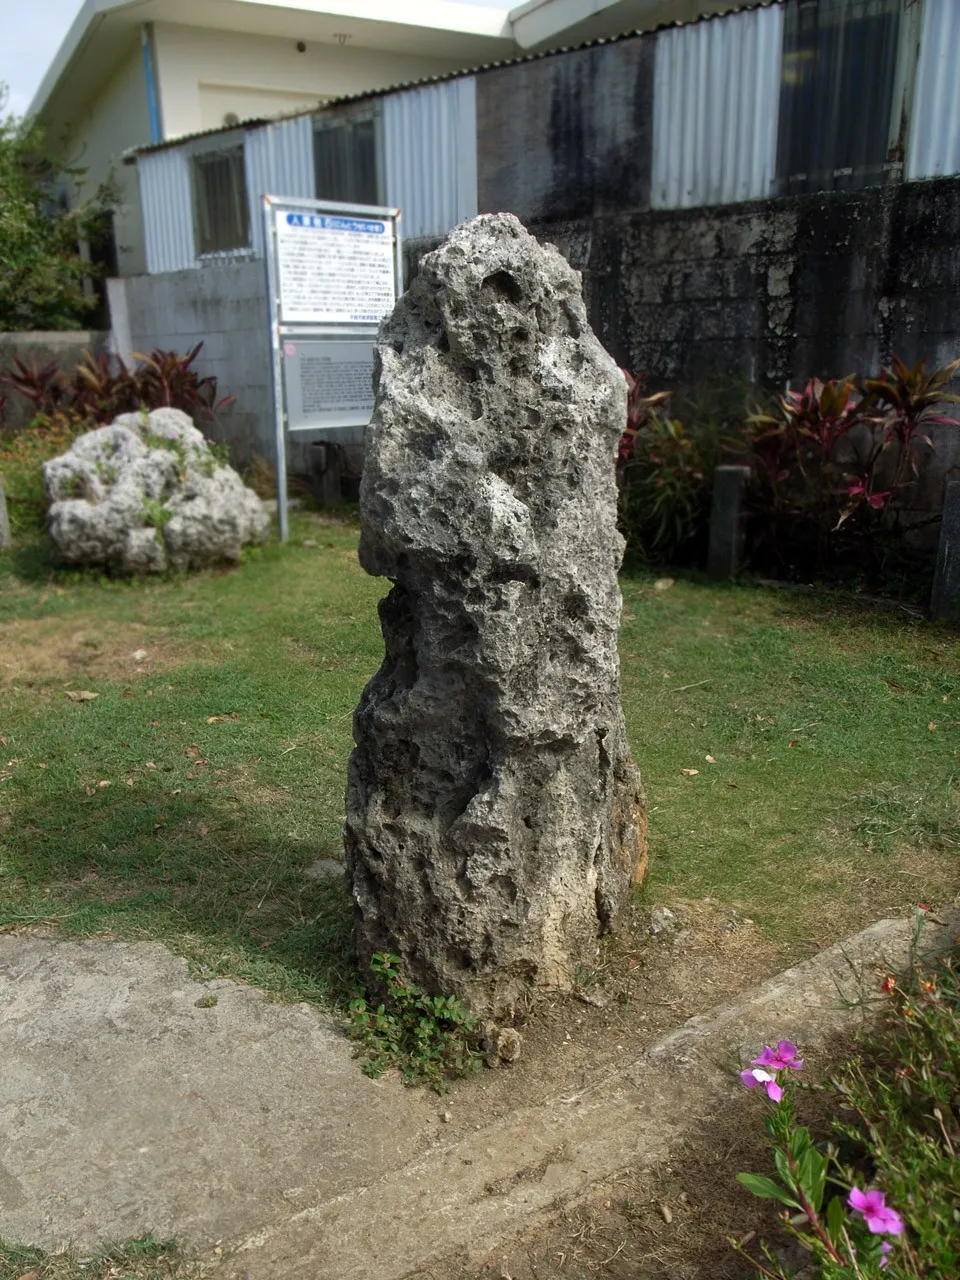
The Nintozeiseki poll-tax stone standing beside a road in Hirara, Miyakojima
The Nintozeiseki poll-tax stone standing beside a road in HiraraPhoto: Paipateroma / CC BY-SA 4.0
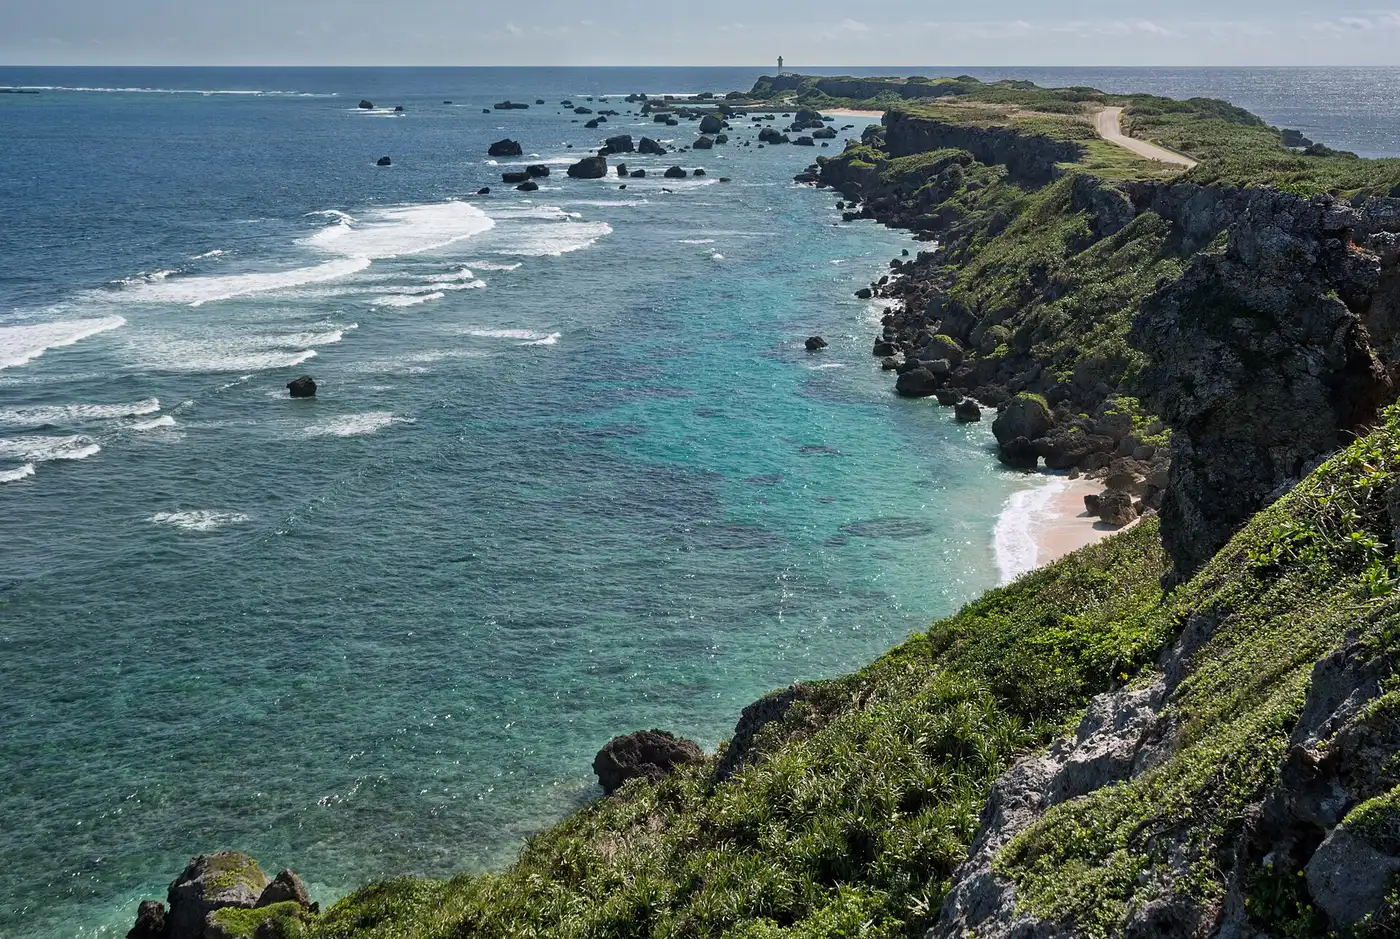
Higashi-Henna Cape, Miyakojima
Higashi-Henna CapePhoto: Hiroaki Kaneko / CC BY-SA 3.0
Sunayama Beach, Miyakojima
Sunayama BeachPhoto: Kaz Ish / CC BY-SA 3.0
Ikema Ohashi, Miyakojima
Ikema OhashiPhoto: Raita Futo from Tokyo, Japan / CC BY 2.0